
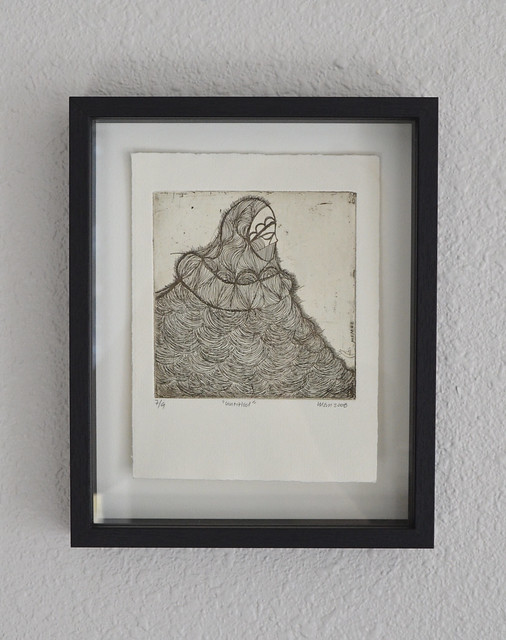
I’ve set a goal of framing a bunch of prints/drawings
that I’ve purchased from artists over the last few years so we can enjoy having
them on display. I’ve put together this
tutorial for you all so you can feel confident in framing work without damaging
it or plunking down serious cash at the frame shop. This method of framing hinges the artwork
from the top and lets it hang freely in a deep set shadowbox frame. It lets the deckle edge show, and is easy to
make with minimal material costs.
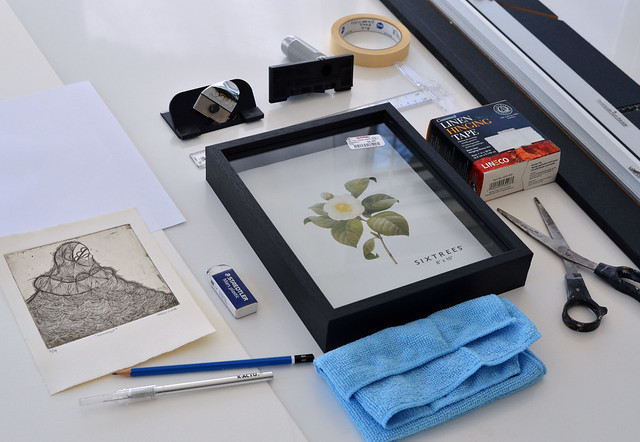
Materials:
- Frame: a shadowbox frame that is proportionate to your artwork – I recommend buying frames in person as you can better gauge their quality.
- Mat Board – I use archival Rag Mat Board – I don’t have to worry about it leeching acid or damaging prints/drawings over time.
- Mat Cutter (get one if you’re an artist or frame
a lot of work – it is well worth the investment.) OR an X-acto Knife
and Cutting Mat
- Linen Gummed Hinging Tape
– One small roll will last you a long time and it is reversible if you make a mistake or want to re-frame something later on.
- Small T-Square
or a Ruler
- Microfiber Rag
– these are essential for cleaning frames because they leave no dust.
- Scissors
- Pencil and eraser
- Scrap paper for making a mock-up
- Optional: Drafting Tape
for initial positioning of artwork

Step 1:
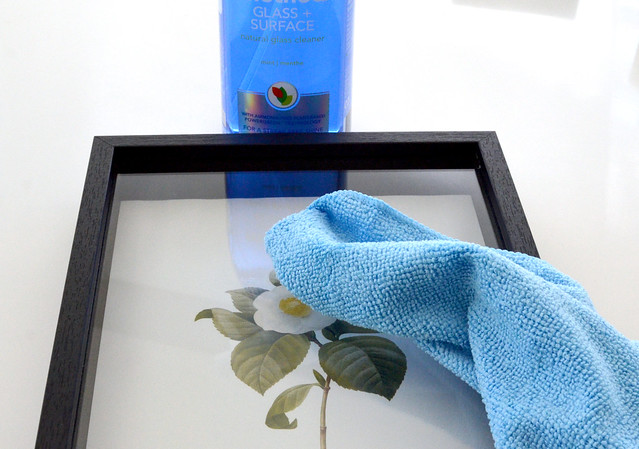
Clean everything with your microfiber rag and some glass cleaner. Clean your work area, clean your frame, take
it apart and clean both the inside and the outside. This may seem like overkill, but you’d be
surprised at how dirty frames can be even when they are new. This will keep little black specks of dust
and errant cat hairs at bay.
Step 2:
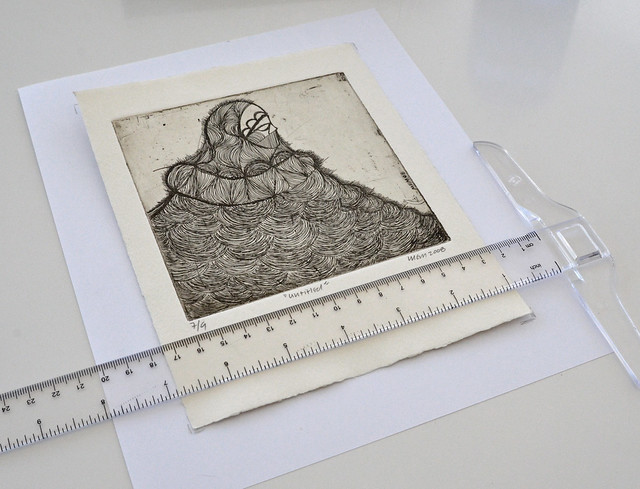
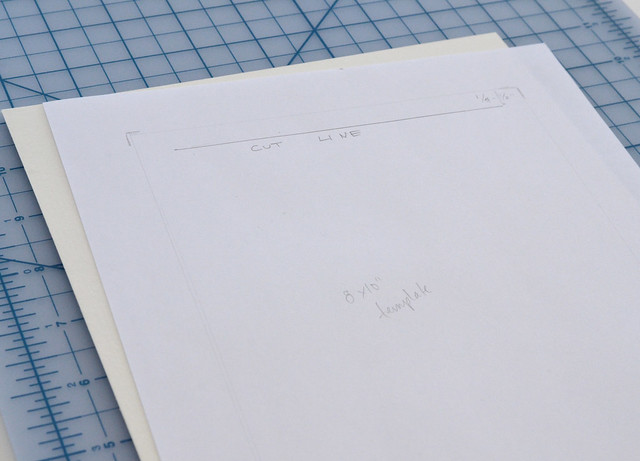
Make a template of your frame insert (or use the back of
the paper that comes in your frame).
This will help you get accurate measurements for centering your artwork
in your frame.

Step 3:
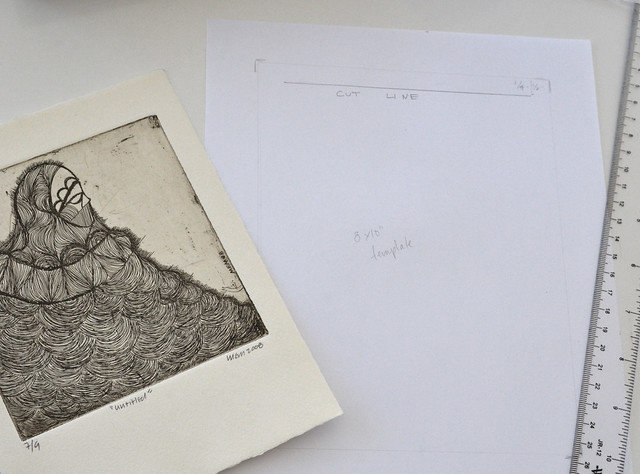
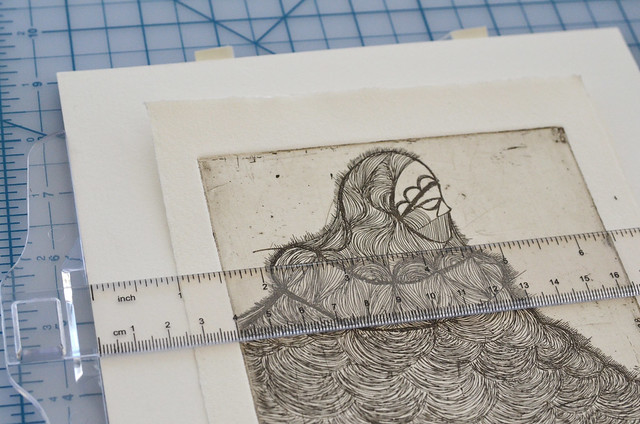
Measure your artwork and center it on your template. I like to have my artwork centered width-wise,
and have a little bit more space on the bottom than on the top
length-wise. Make small marks showing
where the corners are.
Step 4:
Step 4:
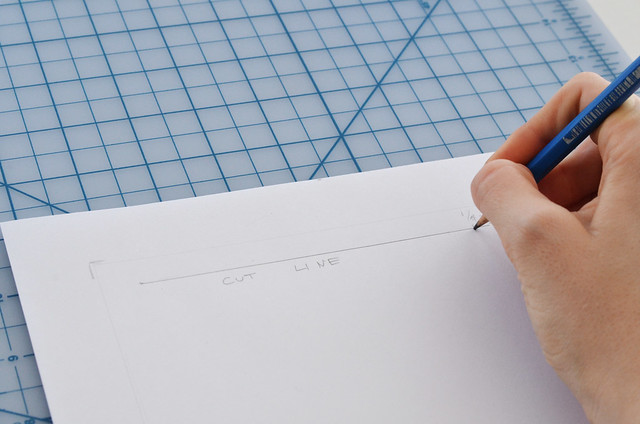
Establish a ‘cut line’ that is about 1/3” down from the
top of the print. This is where we’ll
cut a slit in the backing board to mount work invisibly
Step 5:
Step 5:
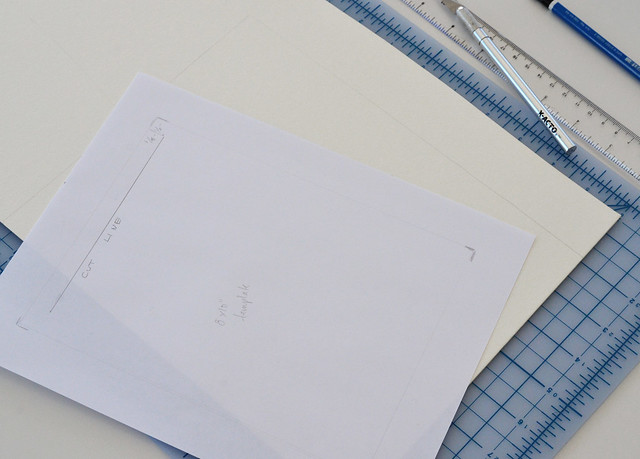
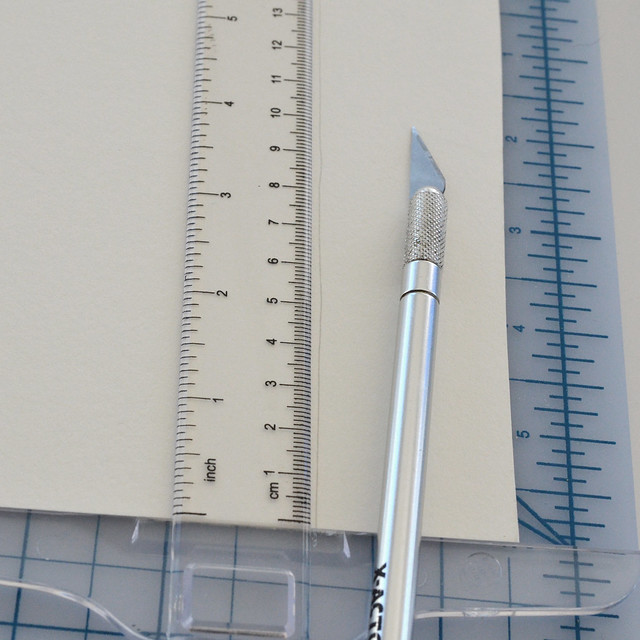
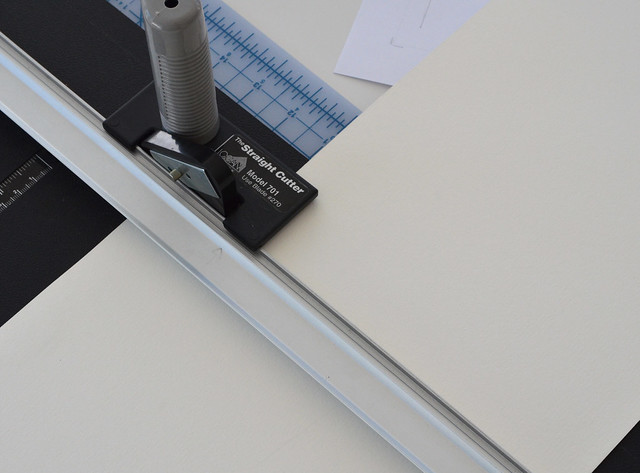
Cut out mat board to use as your backing. Use your mat cutter or your xacto knife and
a ruler to produce a straight 90 degree cut.
If using your xacto knife, make sure to take your cuts slow – you’ll
need multiple careful passes to cut through your mat board. Be patient.
Step 6:
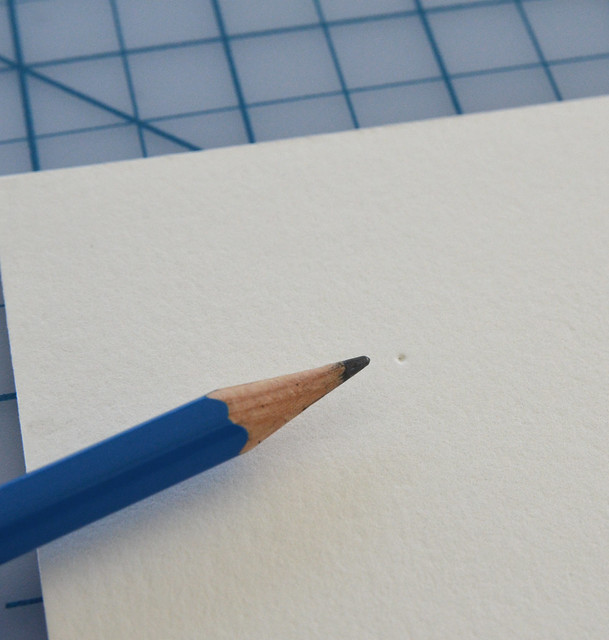
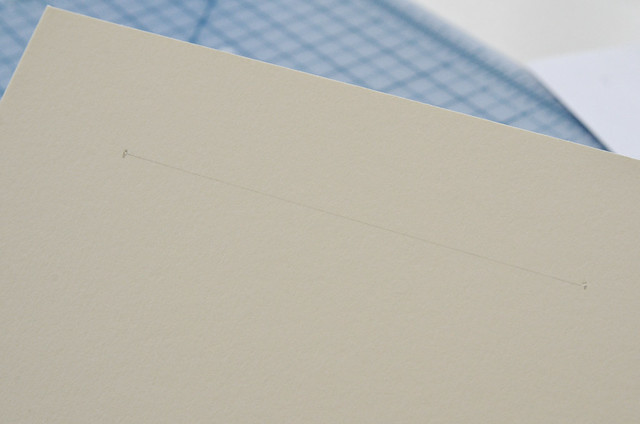
Once your mat board is cut, lay your template over the
mat board and transfer the ends of your cut line by pushing your pencil through
your paper. It should create a small
indent that you can then use a ruler to connect.
Step 7:
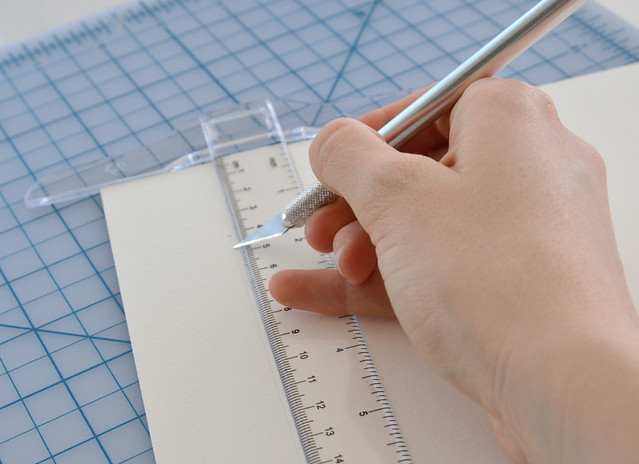
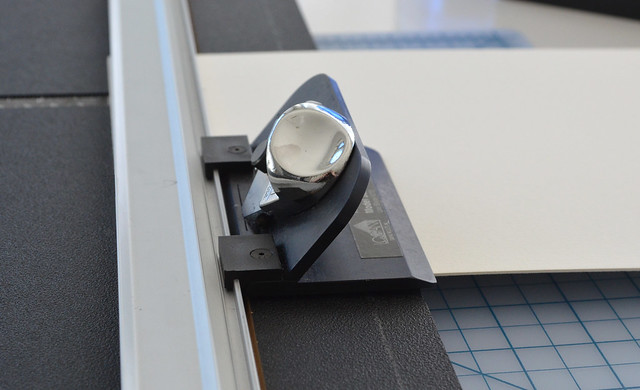
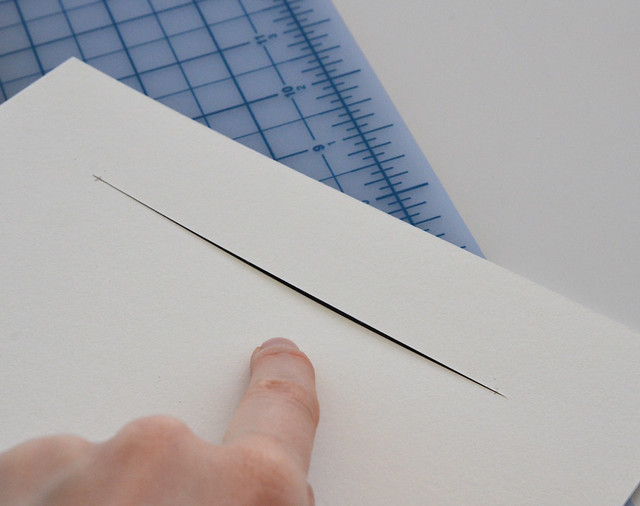
Using your Mat Cutter or your Xacto knife, cut a slit
along your cut line through to the back of your paper. This cut should be the opposite directions
that you usually cut mat bevels, and should be at a 45 degree angle. If using an Xacto knife, it may take a bit of
practice to get this technique down.
Step 8:
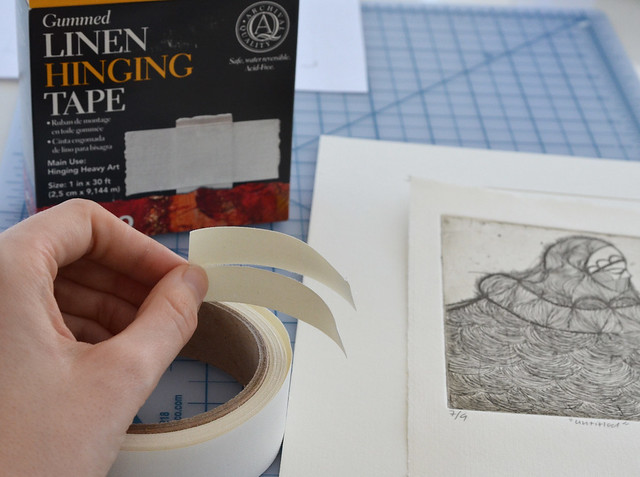
Once your bevel is cut, take some pieces of Linen tape
about 2” long and cut them to be about
1/2” wide. If you are hinging a larger
piece, use 3” long tape and use the full 1” width.
Step 9:
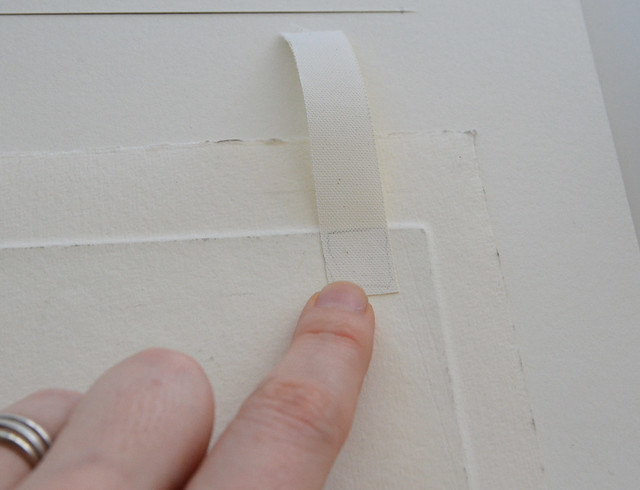
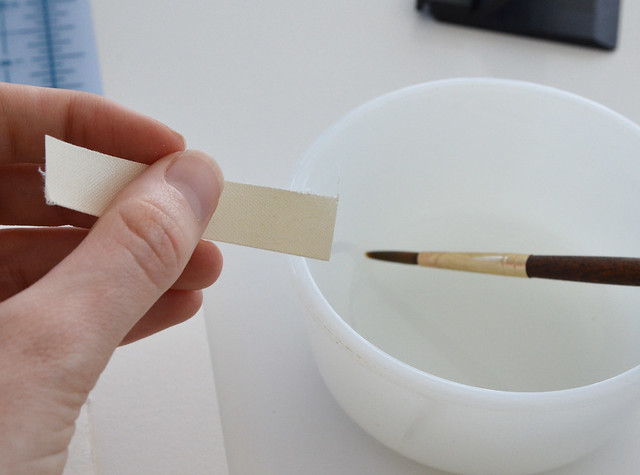
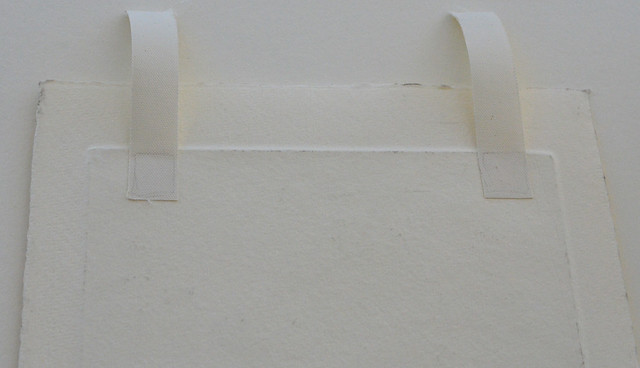
Mount the tape in a small square to the back of the
artwork. If mounting a photograph, or
something on really thin or translucent paper, the linen mounting tape might
not work the best – you may want to try a self-adhesive archival tape. Make sure you don’t add too much water to the
tape – I like to put the water on, let it sit for a few seconds to absorb into
the tape, and then adhere it to the back of the print. Make sure you mount it lower than 1/3” from
the top – I like to mount mine about 2/3” from the top so that I have a little
vertical space to work with when adjusting my artwork. Also be mindful not to mount the tape pieces
wider than your slot in your mat board.
Step 10:
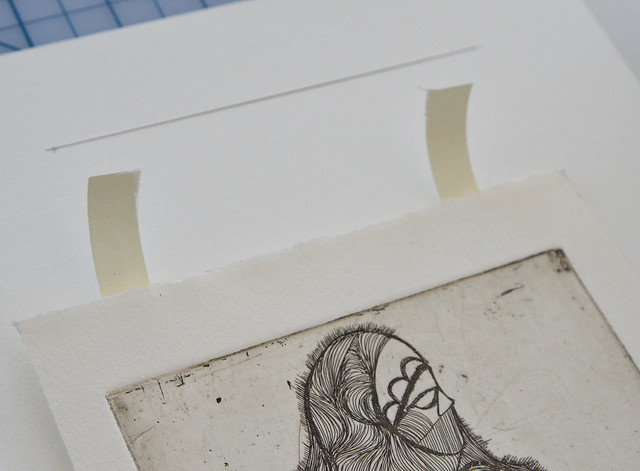
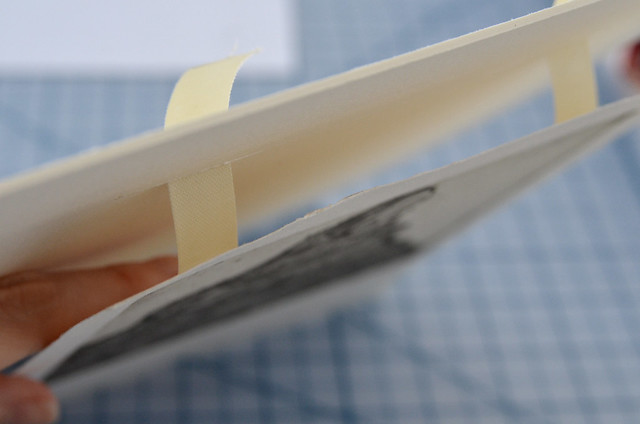
Slide the tape through the slit in the mat board and
adjust it until your print sits exactly where you want it. I like to use some drafting tape on the back
once I get it situated before I adhere it to the back of the mat board to
double check that the print sits just right before adhering the gummed linen
tape to the mat.

Step 11:
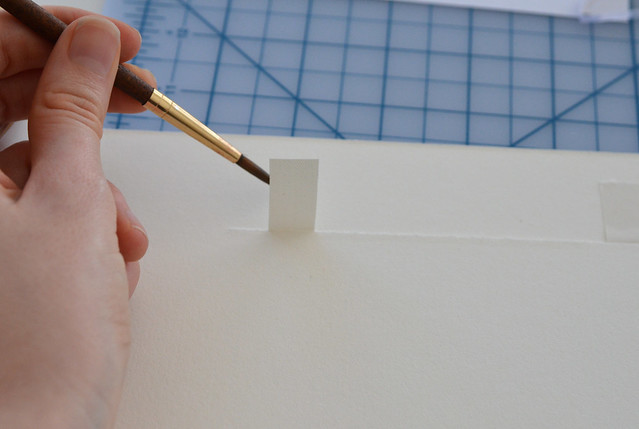
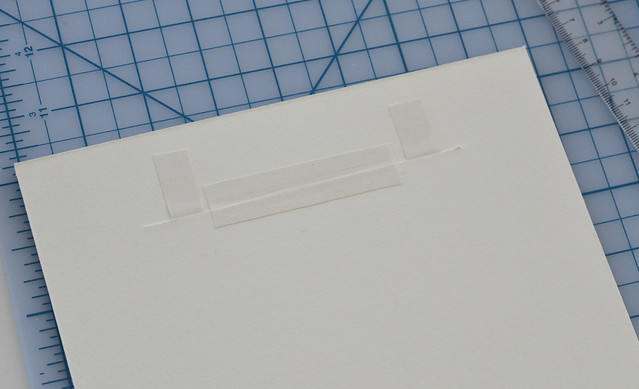
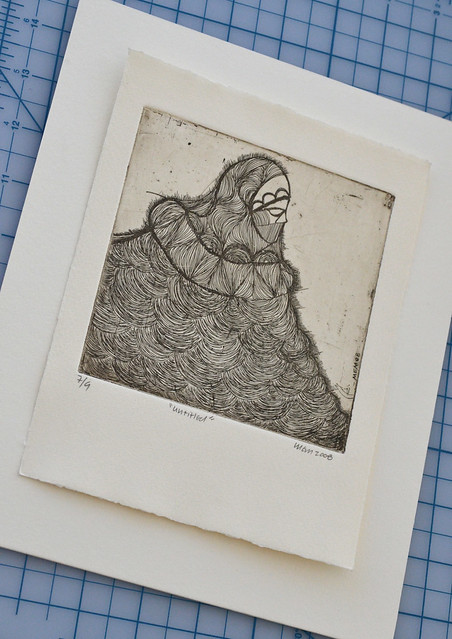
Once you’ve double-checked your placement, adhere the
linen tape to the mat board and take an additional piece to place over your
slot. This will keep it from bowing out
or warping over time.
Step 12:
Place your artwork in your frame and enjoy!
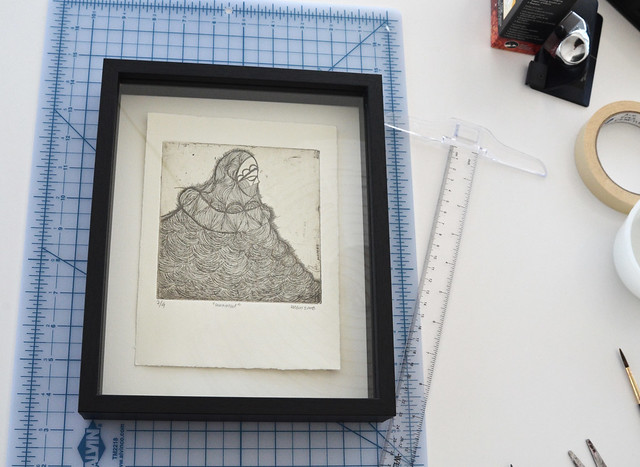
The wonderful piece in this tutorial is a print by Michael McGovern - a grad school friend, and wonderful printmaker based in Portland - click on his name to check out his website and other work!
The wonderful piece in this tutorial is a print by Michael McGovern - a grad school friend, and wonderful printmaker based in Portland - click on his name to check out his website and other work!


