Rhino. Underpainting. Brushes. Etc.

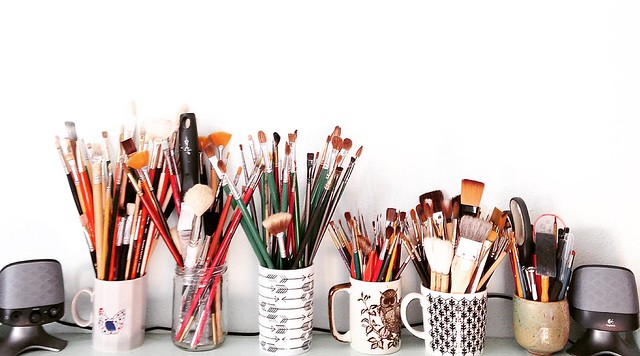
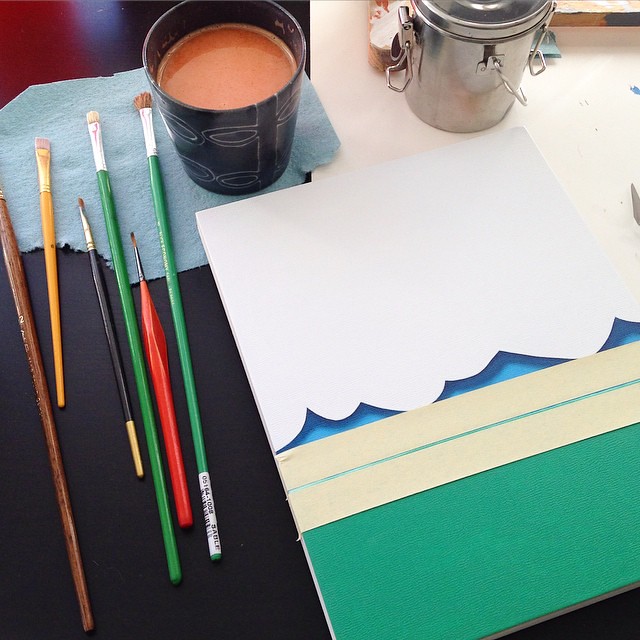
I have a ton of brushes.  Most of them are cheap, a few set me back $20-$30.  I love having a variety to choose from for each stage of a painting. 

Untitled

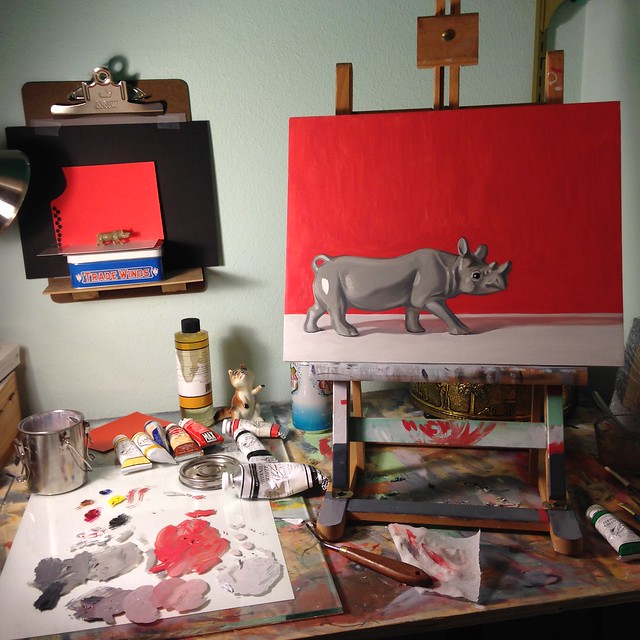
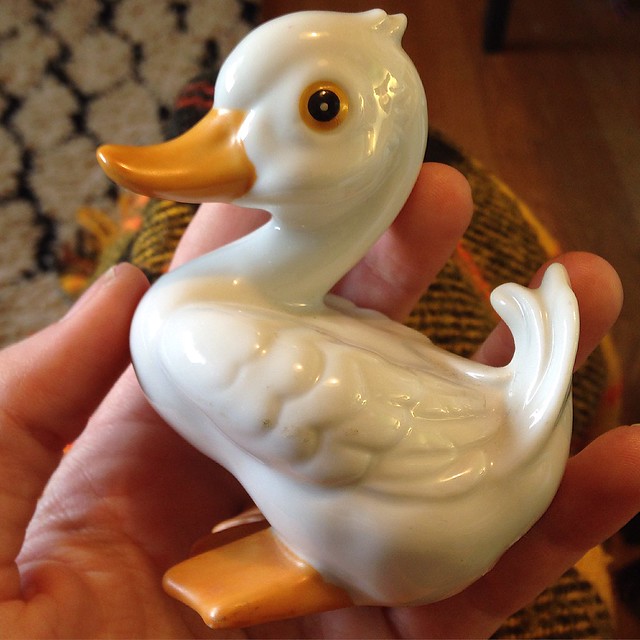
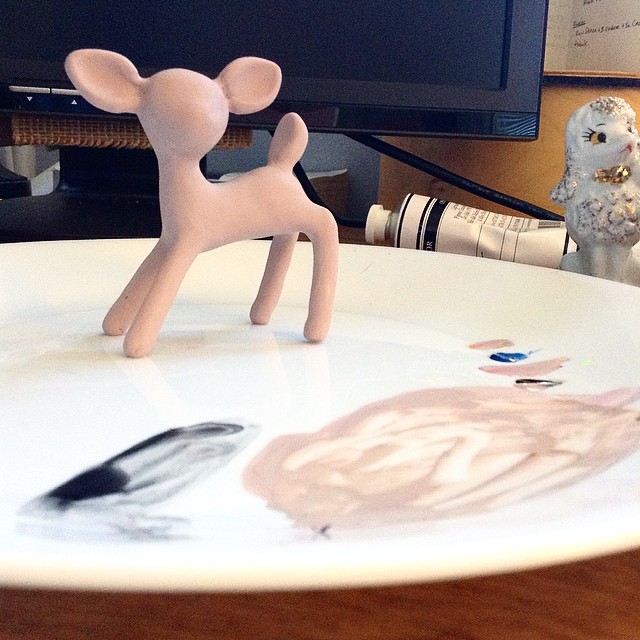
I've been keeping momentum going in the studio.  I just started this little rhinoceros a few nights ago.  I'll start a larger painting within the next few nights too, but I like having these mid-sized paintings to work on in between the larger works.  The figurine for this piece is so small and hard to see for painting the details.  It will be a challenge for sure.

Untitled

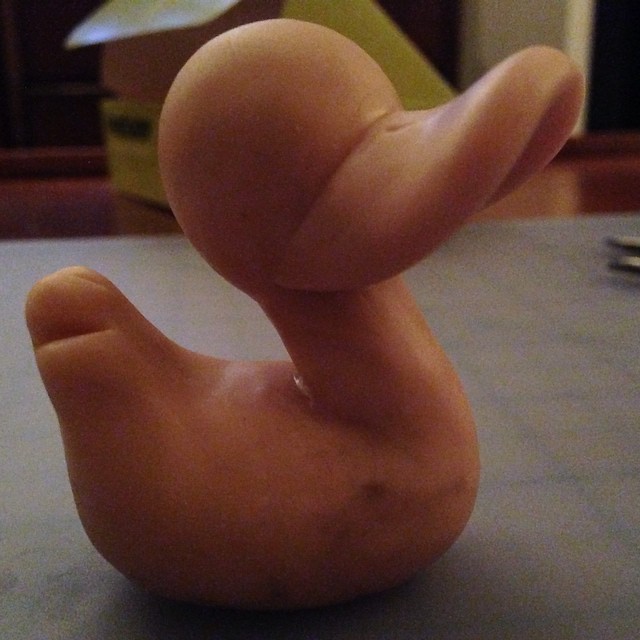
I also picked up this little guy last week.  I have been avoiding the thrift shops for the most part since we moved because we are really trying to get rid of a bunch of stuff, but every once and a while I'll sneak out to look for something really specific.

Untitled

Well, I'm off to work in the studio!  And again - if any of you are in Minneapolis this weekend (Nov 7th) please stop by the opening of my exhibition at Soo Visual Arts Center and say hi!  I'd love to see you! PS - they are also unveiling a couple of new limited edition prints for purchase there - so be the first to see which ones will be released!


In the Studio

While getting the house into a functional state, I've also been plugging away in the studio.

I finished all of the work for my next show before we'd moved.  When you paint with oil paints, you've got to really push your deadlines for exhibitions back because the works need time to dry and in my case be varnished with an initial varnish so the surface appears nice and uniform.

Putting the last layer on this guy today. Almost done.

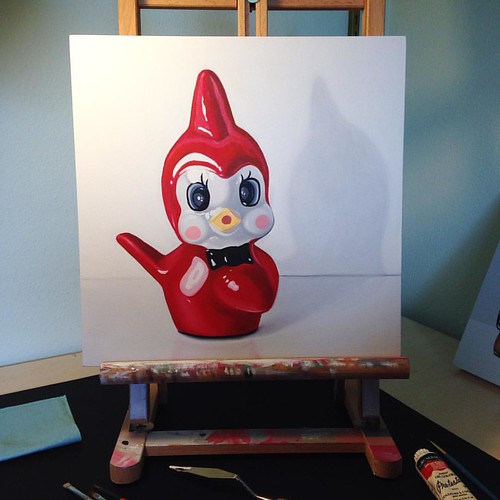
I'd started this little cardinal before we'd moved, and just had to put one more thin layer of paint over the whole thing to really solidify the colors.  The red I used for this painting was cadmium red which is very slow drying.  I had to transport this guy half-dry from SD to WI, and I'm glad he survived the transit without getting distorted!

Untitled

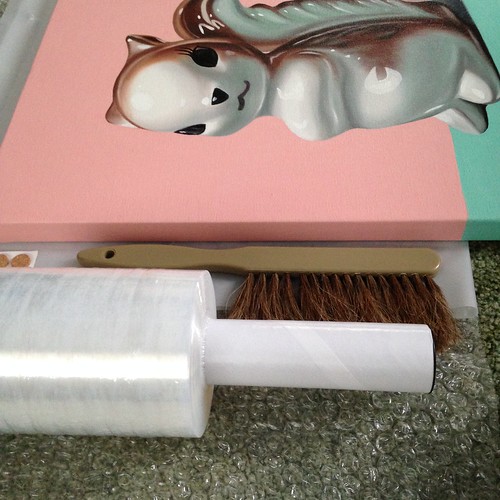
Last week I sent out the pieces for my next exhibition titled Conscious Objects which opens the 7th of November in Minneapolis, MN at the Soo Visual Arts Center.  It is always a big job to pack and ship work, as you have to be prepared for it to be dropped off the side of a truck or stepped on - hah. Here's a sneak peak of this happy squirrel before he was cased in many layers of plastic, foam, and cardboard.  If you are in Minneapolis, please check out the work - it will be up for the next month + - here is the press release: Conscious Objects at Soo VAC

Untitled

Otherwise, I've been able to put in some good hours in the studio - both painting, and organizing/photographing/doing paperwork. I'm starting to get back into the groove, and kick out some work.

Untitled

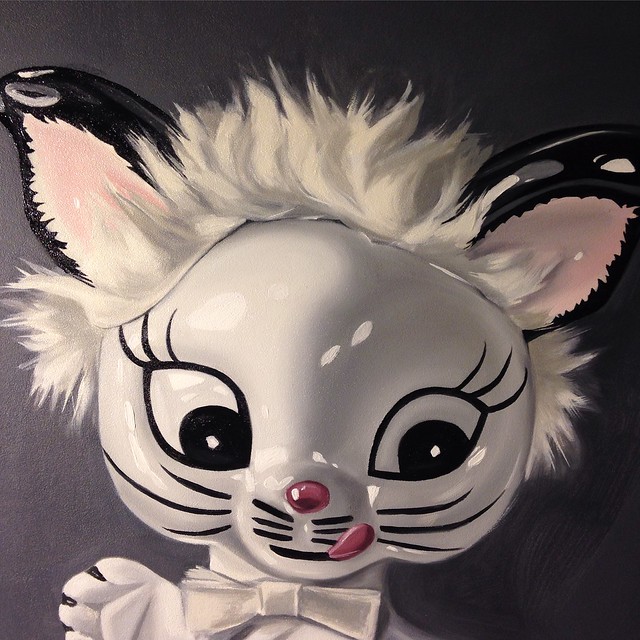
This one has been especially fun with the complexity of the hair to go along with the reflective surface.  Plus, how can you resist this guy's face?

Untitled

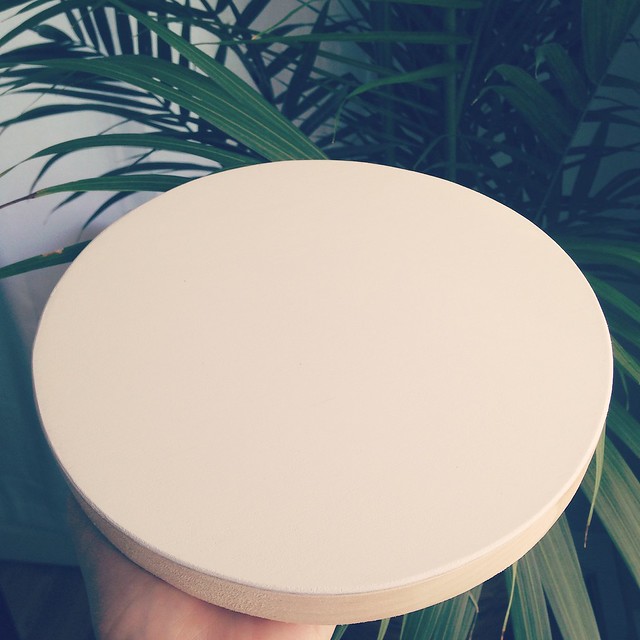
I've also been really trying to refine how I prepare my surfaces - especially for my works on panel.  I'd been gessoing them with a roller and light sanding between layers, but I wasn't really 100% happy with the slight surface texture.  It worked great for blending paint, but it was driving me nuts when it came to fine details.  So I switched up my method of application and my sanding process, and made a batch of ultra smooth panels for some of my next paintings.

Untitled 

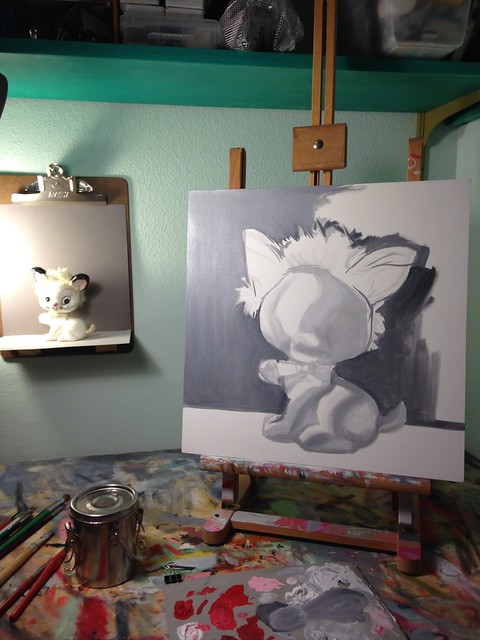
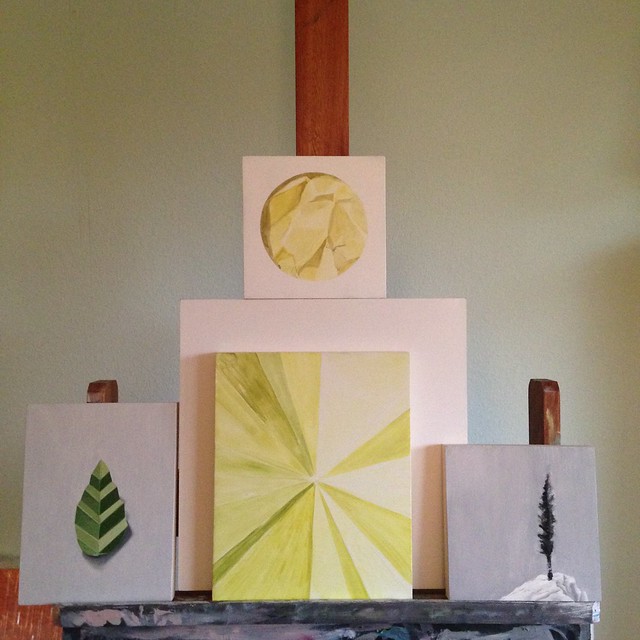
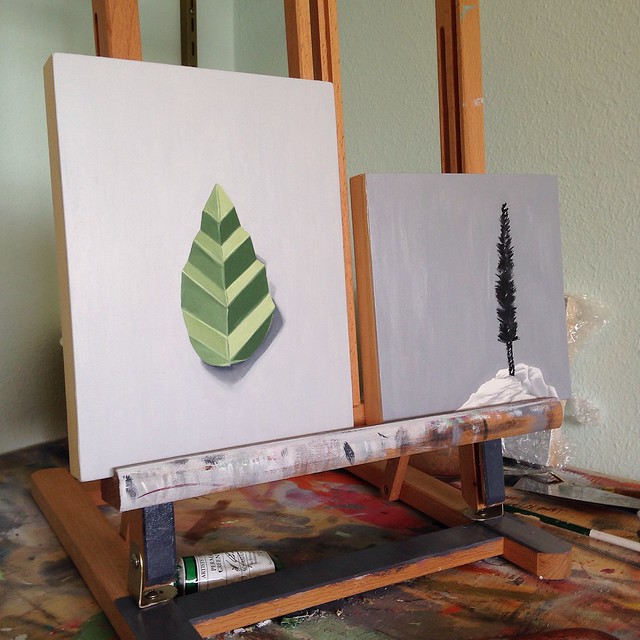
These are underpaintings on those panels - a continuation of the series 'faux landscapes' that I've been working on the last few years.  I'm pushing these to be a little bit more abstract than the some of the others I've done in the past.  I'm not sure if that is the direction I'll keep pushing them, but in the meantime I'm having fun.

Untitled

I'm loving the surfaces so far though - they are divinely smooth, and the paint is gliding like a dream.  It is nice when you get to the point where you don't have to fight the materials to get them to do what you want.

New House & New Projects

Dodgeville -> Oshkosh   Closing on our new house in a few hours. Thanks to Nate's parents for babysitting the 'grandcats' for the last week!
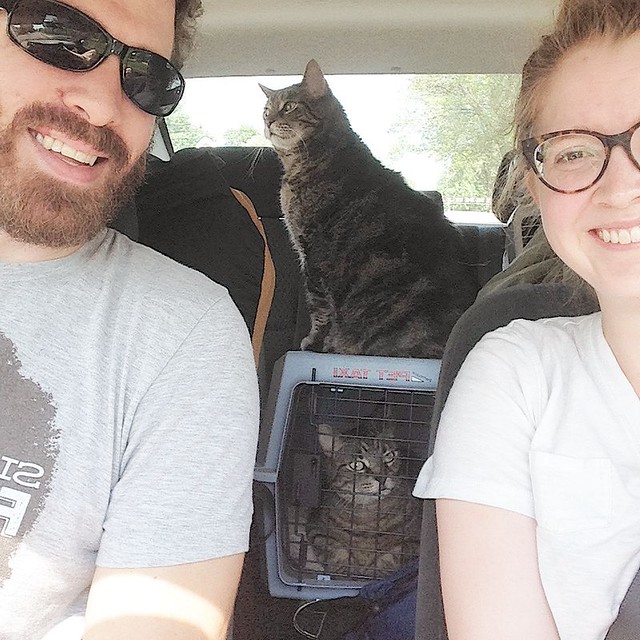
(Nate & I and the cats making the journey from SD to WI)

I'm attempting to catch up a little bit with my blogging.  I was off the radar for a while with the move.  We've been packing and unpacking while balancing a ton of personal projects (exhibitions, music gigs, record releases, studio upgrades).  Nate has started teaching classes at UWO as their new Director of Recording Technology and I've been teaching online and continuing my studio practice while slowly renovating our new place.  Speaking of that, here's our new (to us) house:

We have a ton of plans to make the exterior a little bit more inviting. :)  We'll be adding shutters, painting the olive green a different color, and adding a little landscaping to liven things up.  It is a 60's house with a great layout.

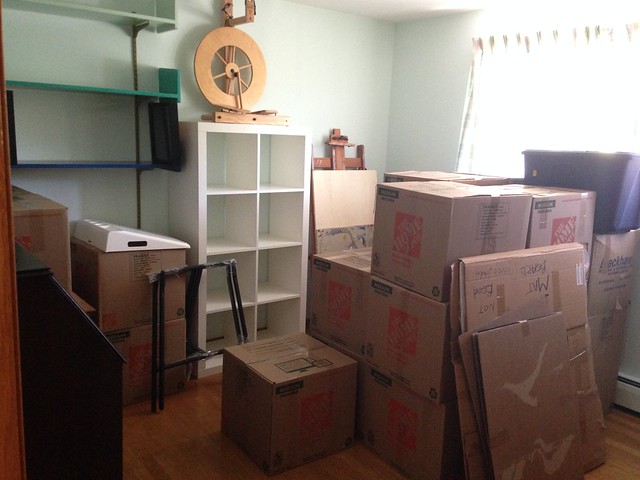
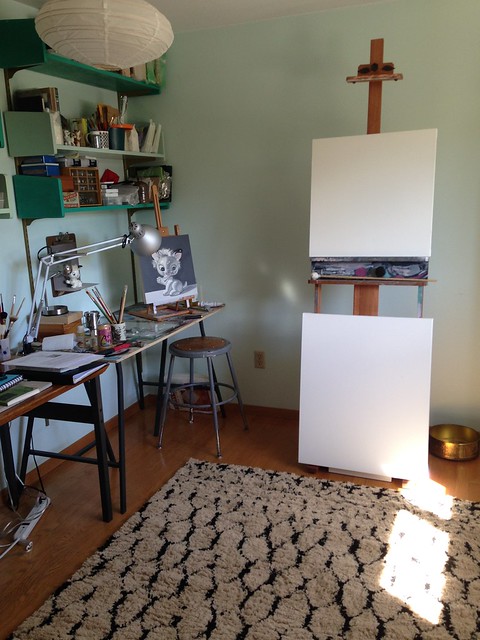
We've done a lot of work to the interior so far (and have a lot to do still too). After we got our kitchen/living room/bedroom unpacked, I started on my new studio space.  It is about the same size as my last studio, so I have to be pretty inventive with how I arrange and organize the space to maximize functionality.
Untitled

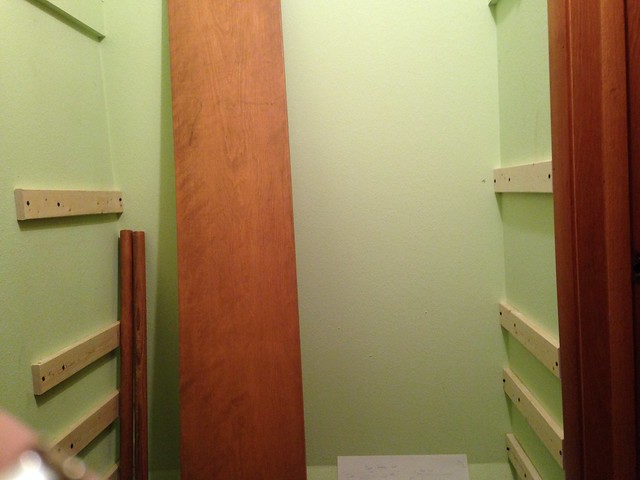
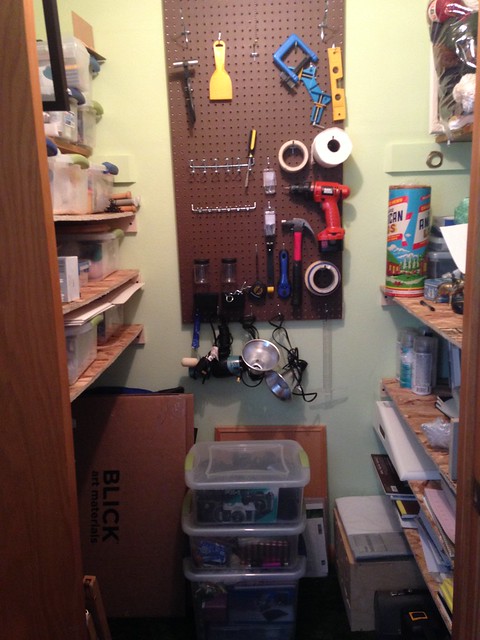
I moved around some existing wall shelves, and built some shelving in the small closet.  I made the closet shelving specifically to hold the bins that I store my supplies in and the most common size canvasses that I use.  I also built and put up a pegboard to store all of those things that I use a lot, but don't want out in my workspace.
Untitled

Building the braces for the shelves.
Untitled

The 'finished' product (albeit still not entirely organized).  I think I spent around $30 on all of the materials along with some supplies I already had.  I'm loving having these custom shelves.
Untitled

So as of now the studio is functional.  It still needs a lot of work - namely painting and organizing - but at least for now I can still continue to paint while I slowly get to those jobs.

I've also done a lot of painting on the first floor, and replaced the window treatments with curtains.
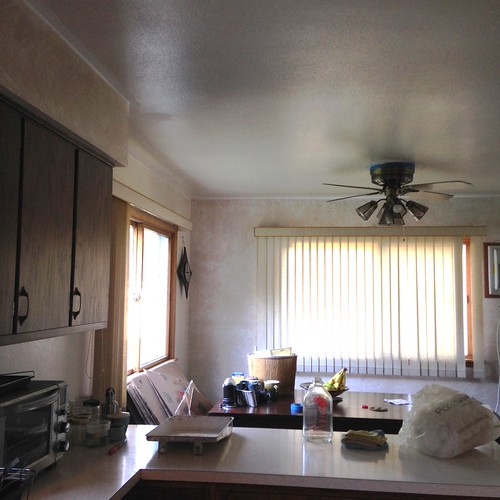
Kitchen Before:
Untitled


Untitled


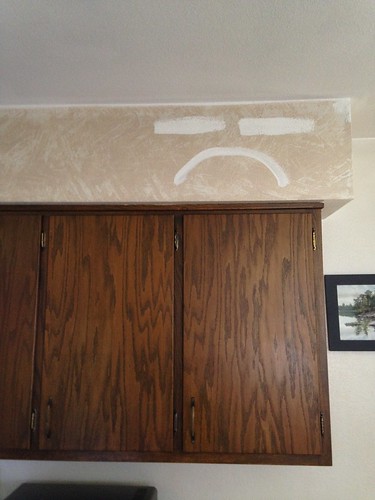
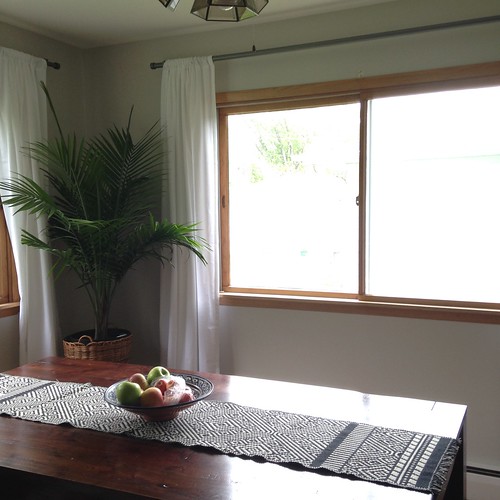
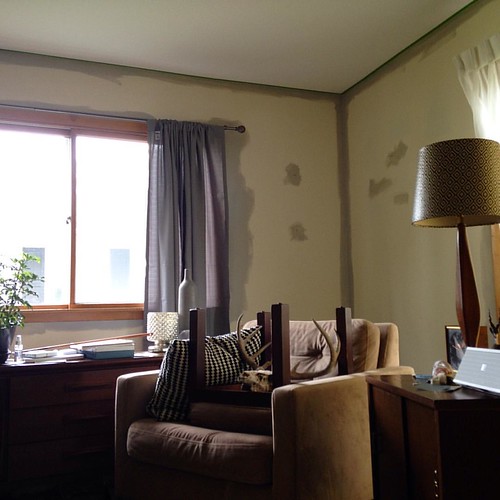
The blinds in the kitchen were old, dirty, and blocked the view into the backyard.  The house has a lot of windows, and we really want a bright kitchen, so I chose to go with simple white curtains.  I also painted the ceilings with flat white paint, and the walls a really light neutral grey.  The kitchen feels a lot more modern and airy now. We've still got to paint the cupboards and replace the light fixtures.
Untitled

I'm also toying with the idea of painting all of the trim white, but I'm not sure yet.  

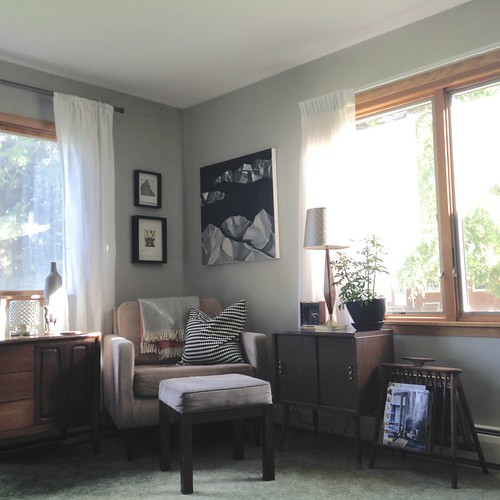
We've also painted the living room and replaced some of the curtains.  We've still got the replace the godawful faded olive/teal floral carpeting though - I cannot wait to get that out of here.  We haven't decided if we are going to put in different carpet, or extend the pergo floors from the kitchen/hallway into the living room so the first floor has cohesive flooring.  

Goodbye 'baby barf' yellow, hello beautiful grey. :D
We were glad to get rid of the 'baby puke' yellow walls, and put in a nice neutral grey.  I like to change up the artwork and the blankets/throw pillows a lot in the house, so the grey walls let me change the feel of the room without having to repaint every time I redecorate.  

Untitled
Cozy. 

Untitled
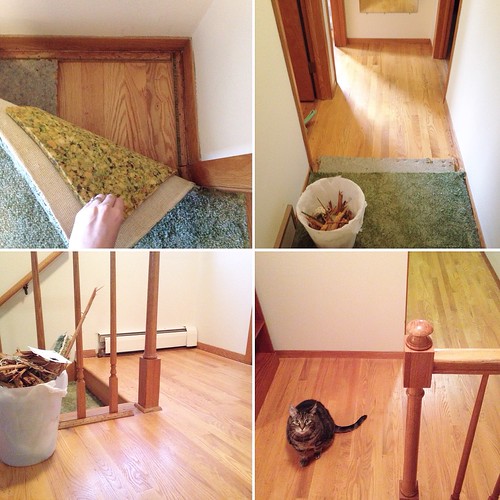
One of the most satifying projects thus far has been ripping out the carpet on the second floor hallway. I can't believe the prior owners covered these beautiful hardwoods! I think the carpets turned off a lot of potential buyers though, so I'm counting this as a total win. 

Untitled
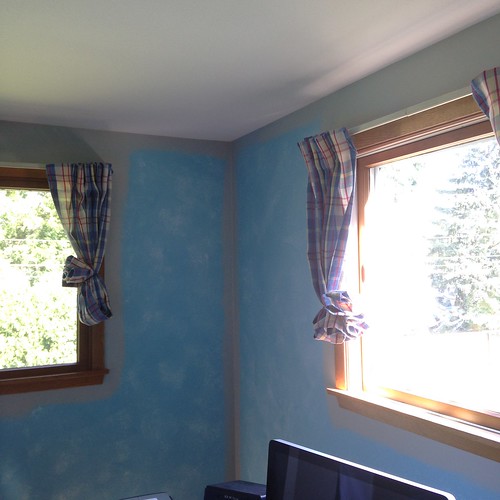
We've also painted the office - we had to get rid of the 'cloud walls' as soon as we could!

Untitled

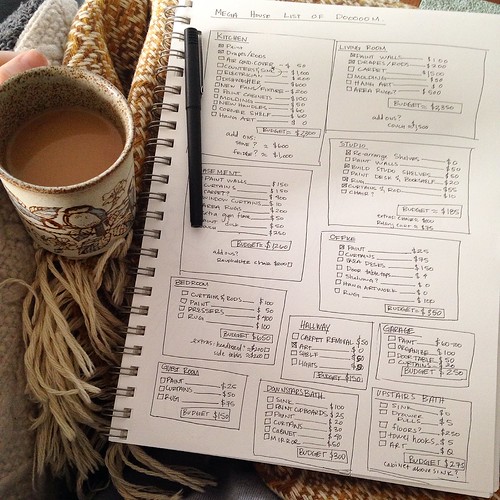
We've still got a lot of work cut out for us though - painting, curtains, some floors, etc.  I made a 'little' list of all of the projects left to complete.  I'm looking forward to having things a little bit further along so it really starts to feel like our space. 


Moving on.


Recently my husband accepted a job at UW-Oshkosh as the Director of the School's Recording program.  We'll be packing up and moving to Wisconsin sometime late in the summer or early fall.  We're already neck-deep in packing and prepping our house to sell while continuing to work on our personal artistic works.  I'm prepping for multiple exhibitions, and Nate is promoting his newest album.  We have a knack for unintentionally overlapping time-consuming commitments!  I'll be taking a break from teaching in-person next semester to focus on my studio work and teach solely online.

We'll really miss our South Dakota family though - we've made such great friendships while living here over the last five years that will be hard to leave.  I'll also really miss my students at DSU - they are a great bunch!  But, we're familiar with the commute from WI to SD, so I know we'll be traveling back to visit.  We both attended UW-Oshkosh for our undergrad degrees though, and have kept in touch with a lot of our friends in the area, so at least we'll be moving someplace that is familiar this time around.

Keep your fingers crossed for us that our move will go smoothly and will time out well. :)  To our South Dakota friends: you'll always have a place to stay/visit in WI.

Exhibition: Strange Atmosphere at the Jazz Gallery Center for the Arts

Here are some installation shots and the postcard for the three-person exhibition titled 'Strange Atmosphere' at the Jazz Gallery Center for the Arts that I exhibited my work at last month alongside the wonderful artists Rachel Quirk and Zina Mussmann:


In this exhibition, three artists consider conceptual aspects of space, place and time. They explore questions ranging from the psychological, emotional and existential, to the contextual and art historical. 

Cassie Marie Edwards’ work is about boundaries. Her practice consists of constructing landscape still life models out of ordinary household items such as cotton balls and pipe cleaners. The paintings that result from observation of these models are highly rendered and are several times removed from the original subject. The works blur the margins between traditional landscape, portraiture and still life, and pose questions about representation and “high” and “low” modes of expression. 

  Rachel Quirk investigates how time and place interact, and how they often lead to emotional states of uncertainty and angst. She uses familiar imagery and manipulates it in a way that makes the everyday seem alien and pensive. Through mixed-media photo transfers and video, she creates alternative realities that reflect the internal struggle to reconcile feelings about the unknowable. 

Zina Mussmann eliminates visual indications of context in minimalist mixed media drawings. She appropriates elements from various sources and separates them from their original subtexts in order to create a non-space. The newly constructed images float in an absurd arena where there is no reference to time or place—where there is an irrationality of experience, and where question


Exposure Gallery Opening and Exhibition

I had my exhibition at Exposure Gallery in Downtown Sioux Falls about a month ago, and it was a really great time.  It was so nice to catch so many of my art friends in SD - I was totally humbled by the stellar attendance and kind words that floated through the gallery that night.  I'm super thankful to Zach DeBoer for his support through Exposure Gallery, and his great arrangement of the many paintings I brought to fill the space.


I was so busy that night I totally forgot to take pictures!  Thankfully Exposure and some other friends had that covered for me.  Check out some more pictures from that night (and a lovely little write-up) at the JAM Blog - Thanks to Sharon Wegner for assembling it and taking some photos!


In the Studio - Small Paintings and Small Sculptures

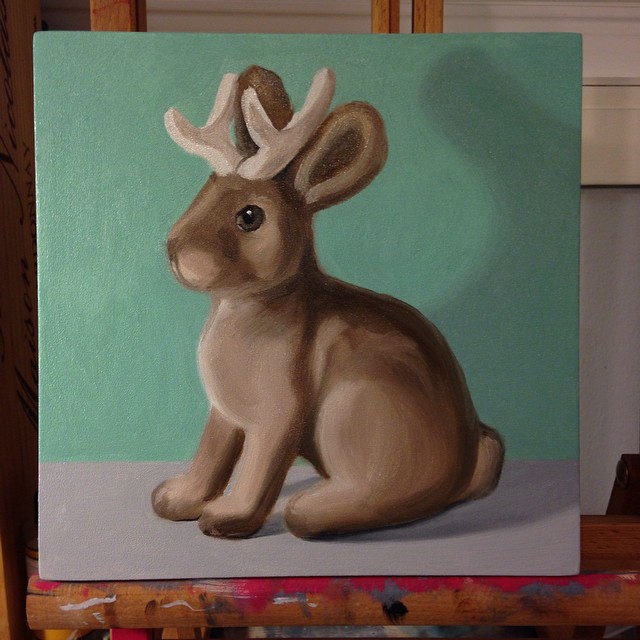
Underpainting on a commissioned piece - flocked jackalope. :)


I finished the underpainting on this little jackalope painting last night - it is a commissioned piece for a friend of mine who searched high and low for the perfect flocked jackalope.  I'm hoping to knock out the rest of the painting next week after this layer dries.

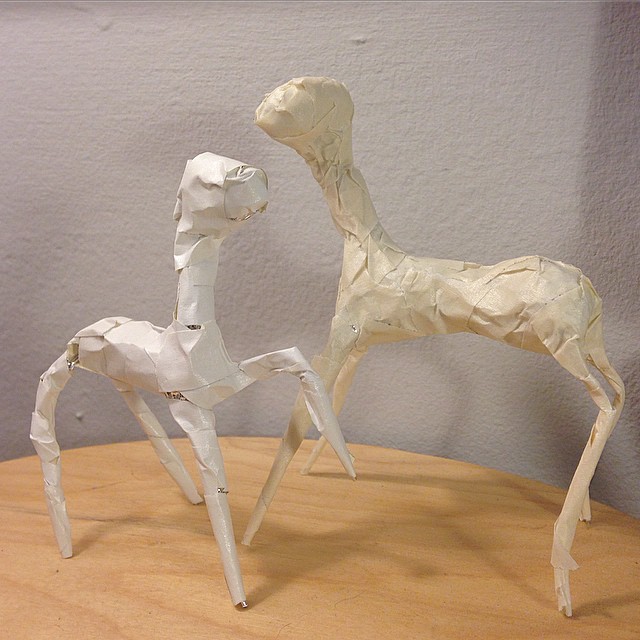
Waiting to get my clay in the mail.  In the meantime I am building little  armatures.


I'm also going out on a limb and trying to make some small figurine sculptures of my own.  I just bought some additional sculpture tools, so this should be a lot easier the next time around.

Whut?


I'm toying with the idea of casting these in resin, and making a bunch of blank figurines.  I may also be going crazy.

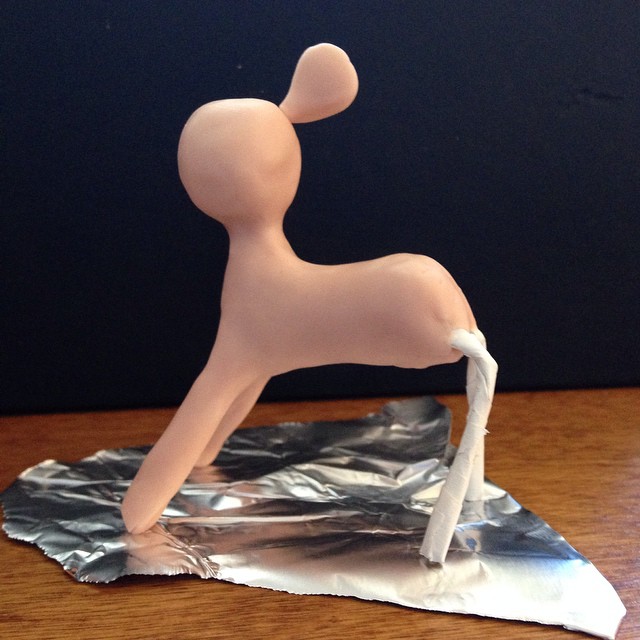
I need to get some real sculpting tools. Playing around with #sculpey and making my own figurines.


Making tiny sculpey sculptures.  Thinking of casting these in resin...

Now I just have to figure out the best way to cast these in silicone, and look for a good resin to work with.

Slow Moving Glaciers

En route to Indianapolis.

I've had one of those semesters where I'm trying to juggle working on about 2 million things at once.  I'm making slow progress on all of my studio projects, but it feels like I'm standing still. I'm not someone who enjoys stagnancy.  One of the hard things about being an artist and working as an adjunct in academia is that there are very few ways to truly feel accomplished.  As an artist, there are always bigger fish to fry (and always lots of rejection), and as an adjunct, there is always the uncertainty of your job disappearing each semester despite your best teaching efforts.  I've been yearning for more stable ground the last few years, and am doing a lot of thinking about what my next move will be.  I'll keep you updated, but at the present moment I'm just trying to keep my head above water.

Perfect afternoon.  Painting and a fancy pants carrot/sweet potato/pear/ginger juice that tastes like heaven.

In good news, I've been selling a few paintings lately to some collectors I really admire, working on some commissions, and recently travelled to Indianapolis to present at the national FATE conference with some colleagues from our neighboring university SDSU.  I loved visiting the IMA - they had a great collection.  Sometimes a trip to an art museum can re-energize your art-making in a profound way. 

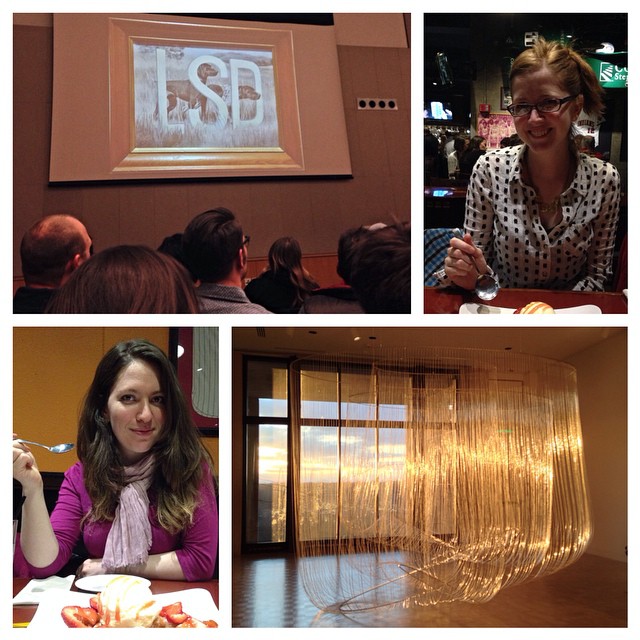
The last few days have been wonderful - I attended the #fate2015 conference and presented with my good friend Mariam, got to attend some great panels by friends, and was really inspired by keynote speaker #waynewhite 's talk.

I also really enjoyed the keynote speaker of the conference, Wayne White.  I totally recommend watching the documentary that focused on his work, Beauty is Embarrassing.  I think seeing an artist's development over time is really important.  One of the things he addressed in his talk was how he always followed and produced things that interested him and caught his attention - with no mind to whether or not they would 'amount' to anything.  Yet, even these things that he thought were strange (puppet making, installation, historical reproductions) all came back into his work in really important ways as his career progressed.  


I'm hoping to show this documentary to my students.  One of the things I try to do as an educator is introduce a ton of new techniques and challenge students to follow their interests.  I'm keeping my fingers crossed that it will encourage them to keep experimenting.

Float Framing Artwork Tutorial for Prints, Drawings, and Artwork on Paper

Framing Tutorial 31

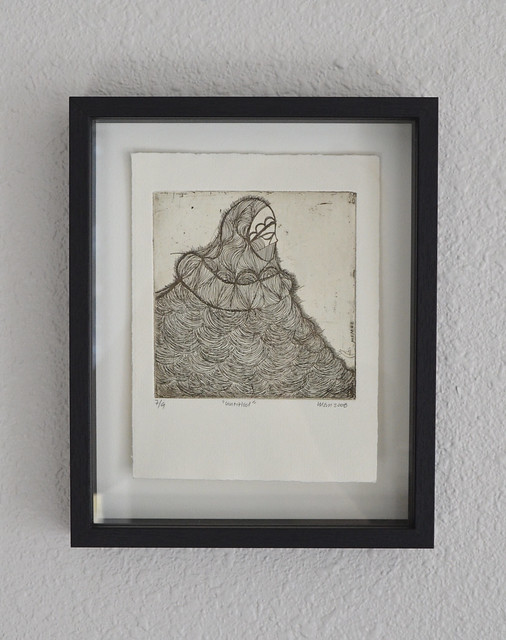
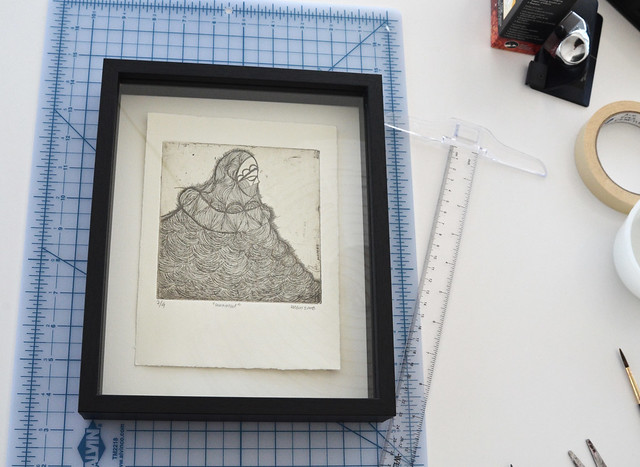
I’ve set a goal of framing a bunch of prints/drawings that I’ve purchased from artists over the last few years so we can enjoy having them on display.  I’ve put together this tutorial for you all so you can feel confident in framing work without damaging it or plunking down serious cash at the frame shop.  This method of framing hinges the artwork from the top and lets it hang freely in a deep set shadowbox frame.  It lets the deckle edge show, and is easy to make with minimal material costs.

 Framing Tutorial 01

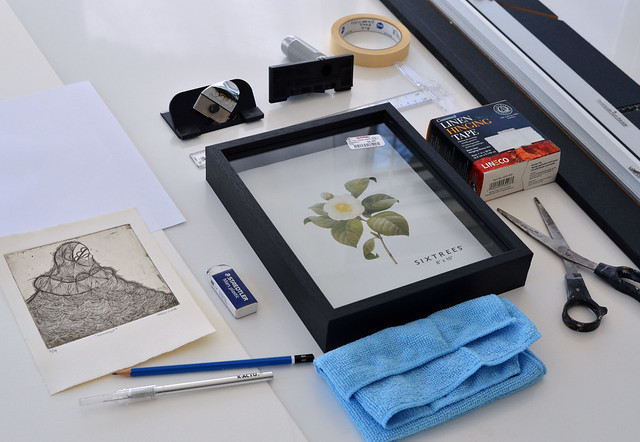
Materials:

  • Frame: a shadowbox frame that is proportionate to your artwork – I recommend buying frames in person as you can better gauge their quality.
  • Mat Board – I use archival Rag Mat Board – I don’t have to worry about it leeching acid or damaging prints/drawings over time.   
  • Mat Cutter (get one if you’re an artist or frame a lot of work – it is well worth the investment.) OR an X-acto Knife and Cutting Mat
  • Linen Gummed Hinging Tape – One small roll will last you a long time and it is reversible if you make a mistake or want to re-frame something later on.
  • Small T-Square  or a Ruler
  • Microfiber Rag – these are essential for cleaning frames because they leave no dust.
  • Scissors
  • Pencil and eraser
  • Scrap paper for making a mock-up
  • Optional: Drafting Tape  for initial positioning of artwork


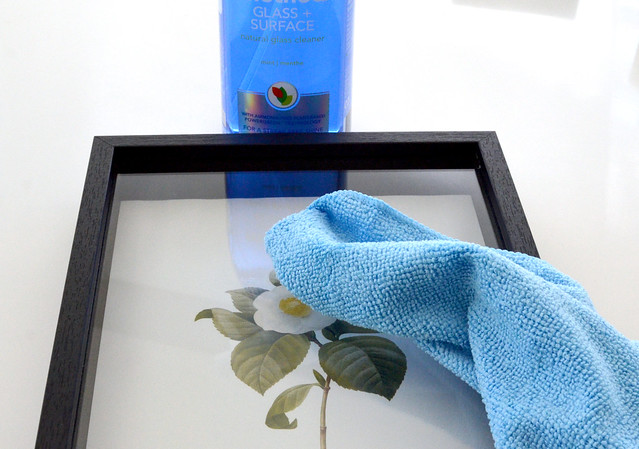
Step 1:
Clean everything with your microfiber rag and some glass cleaner.  Clean your work area, clean your frame, take it apart and clean both the inside and the outside.  This may seem like overkill, but you’d be surprised at how dirty frames can be even when they are new.  This will keep little black specks of dust and errant cat hairs at bay. 

Framing Tutorial 03

Step 2: 
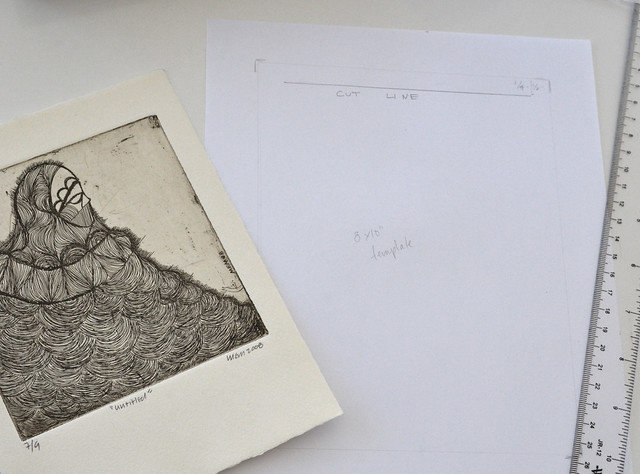
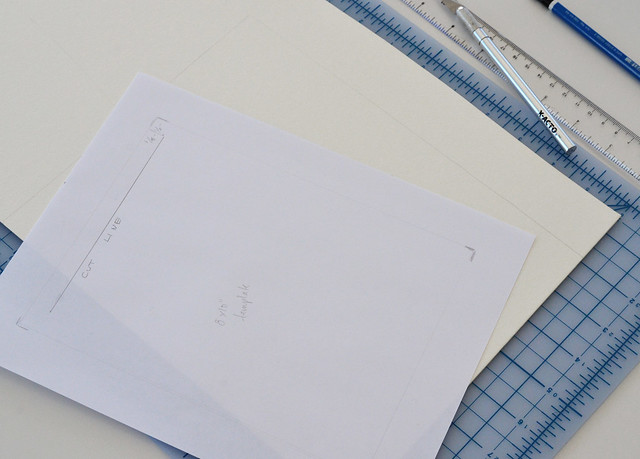
Make a template of your frame insert (or use the back of the paper that comes in your frame).  This will help you get accurate measurements for centering your artwork in your frame.

Framing Tutorial 04

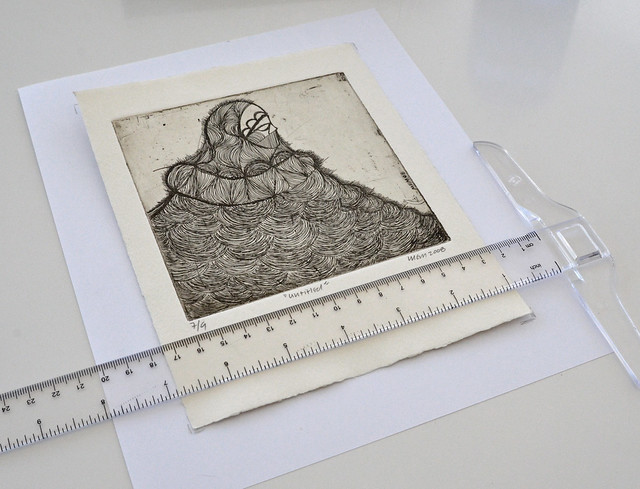
Step 3:
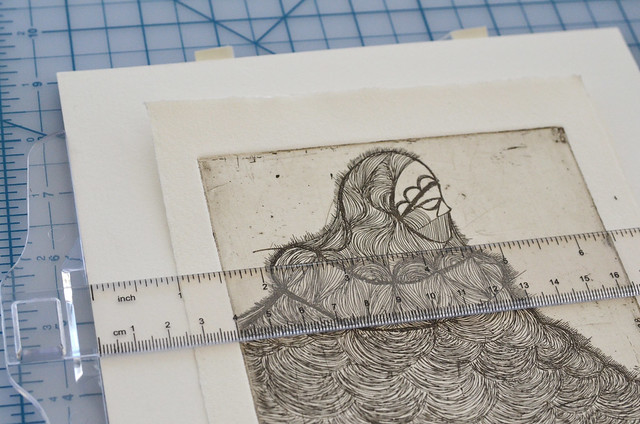
Measure your artwork and center it on your template.  I like to have my artwork centered width-wise, and have a little bit more space on the bottom than on the top length-wise.   Make small marks showing where the corners are.

Framing Tutorial 06

Step 4:
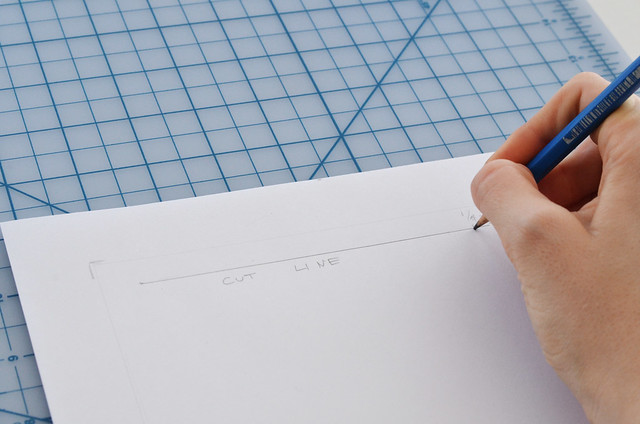
Establish a ‘cut line’ that is about 1/3” down from the top of the print.  This is where we’ll cut a slit in the backing board to mount work invisibly

Framing Tutorial 07

Step 5:
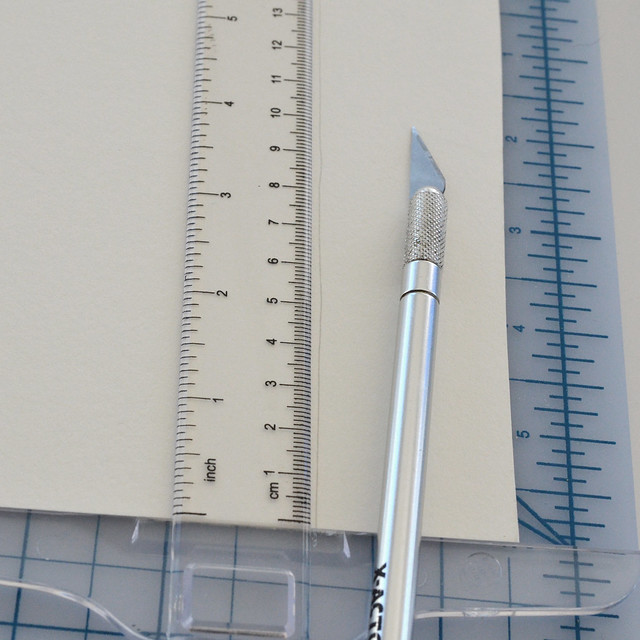
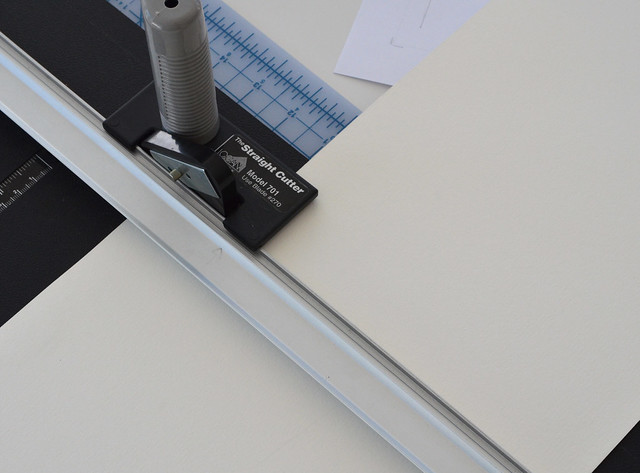
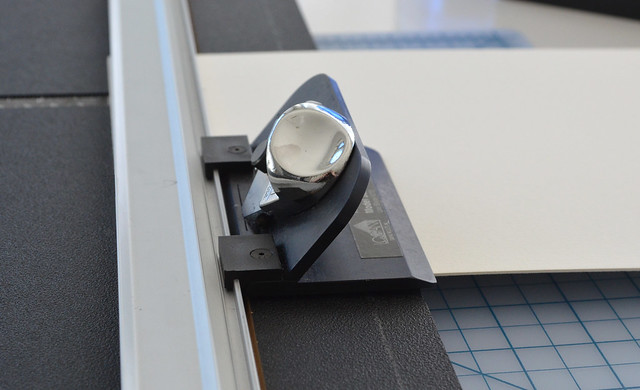
Cut out mat board to use as your backing.  Use your mat cutter or your xacto knife and a ruler to produce a straight 90 degree cut.  If using your xacto knife, make sure to take your cuts slow – you’ll need multiple careful passes to cut through your mat board.  Be patient.
Framing Tutorial 09

Framing Tutorial 10

Framing Tutorial 011

Step 6:
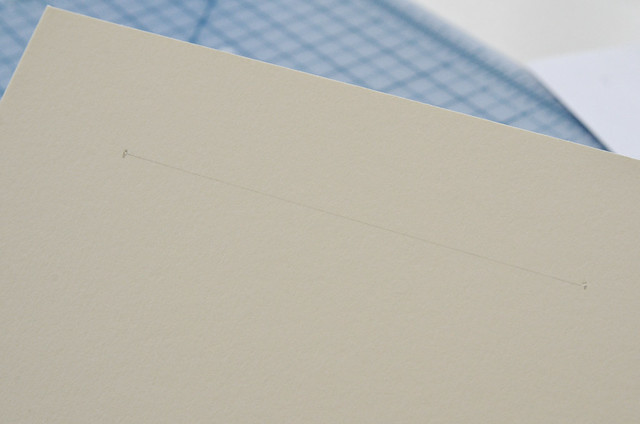
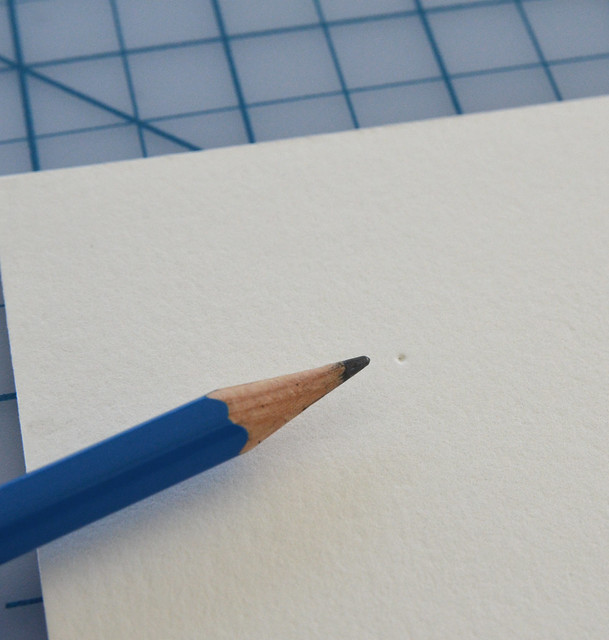
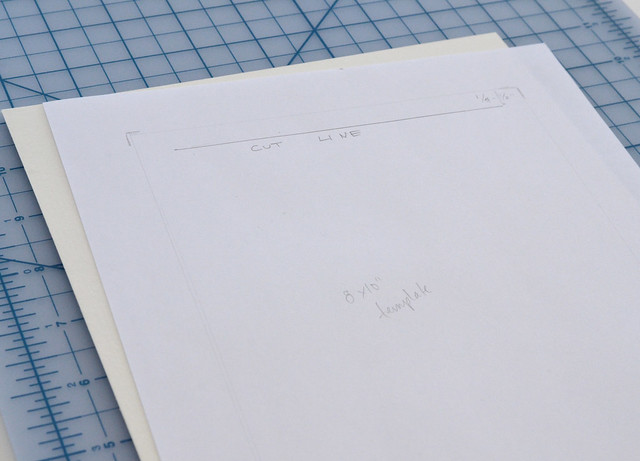
Once your mat board is cut, lay your template over the mat board and transfer the ends of your cut line by pushing your pencil through your paper.  It should create a small indent that you can then use a ruler to connect.
Framing Tutorial 12

Framing Tutorial 13

Framing Tutorial 14


Framing Tutorial 15

Step 7:
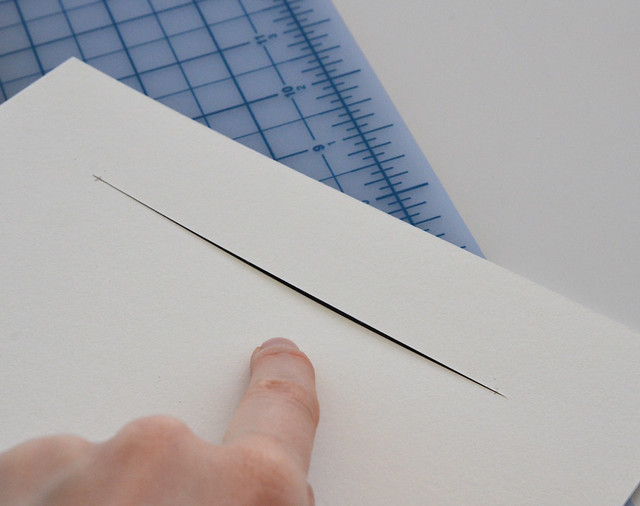
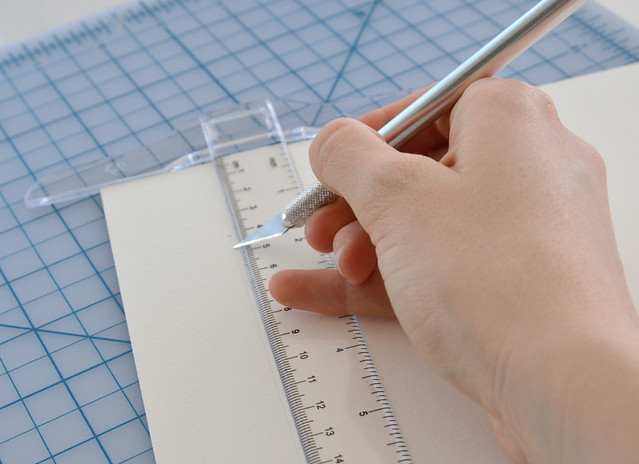
Using your Mat Cutter or your Xacto knife, cut a slit along your cut line through to the back of your paper.  This cut should be the opposite directions that you usually cut mat bevels, and should be at a 45 degree angle.  If using an Xacto knife, it may take a bit of practice to get this technique down.
Framing Tutorial 16

Framing Tutorial 17

Framing Tutorial 18

Step 8:
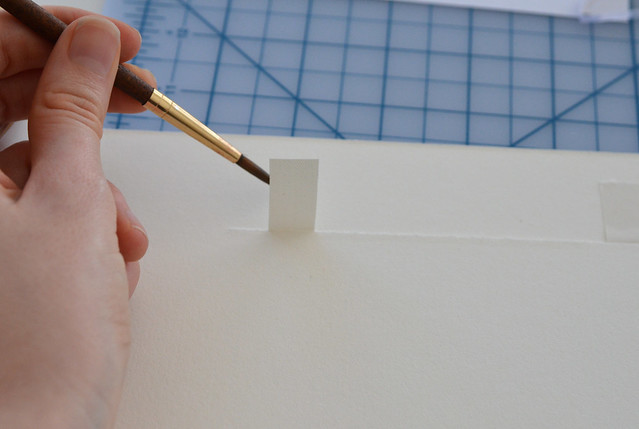
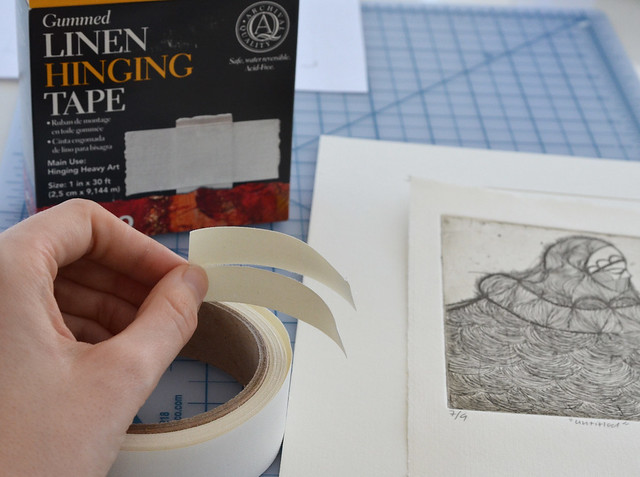
Once your bevel is cut, take some pieces of Linen tape about 2” long  and cut them to be about 1/2” wide.  If you are hinging a larger piece, use 3” long tape and use the full 1” width. 
Framing Tutorial 19


Step 9:
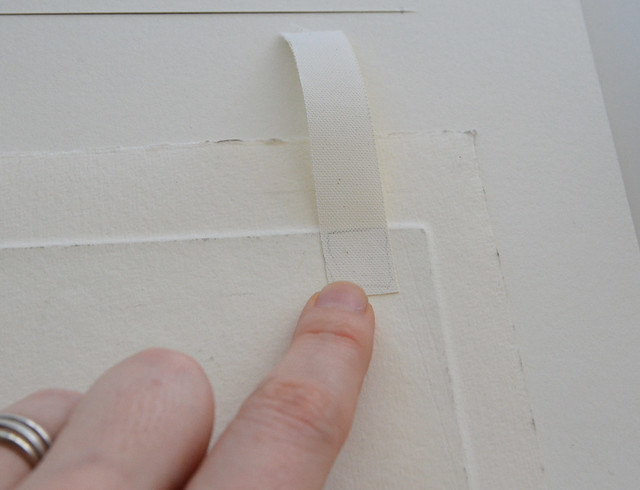
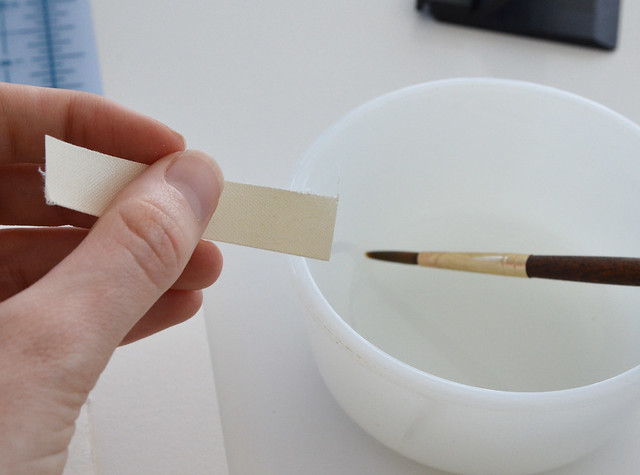
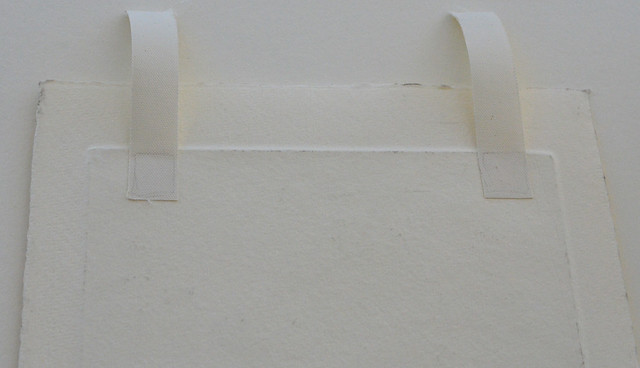
Mount the tape in a small square to the back of the artwork.  If mounting a photograph, or something on really thin or translucent paper, the linen mounting tape might not work the best – you may want to try a self-adhesive archival tape.  Make sure you don’t add too much water to the tape – I like to put the water on, let it sit for a few seconds to absorb into the tape, and then adhere it to the back of the print.  Make sure you mount it lower than 1/3” from the top – I like to mount mine about 2/3” from the top so that I have a little vertical space to work with when adjusting my artwork.  Also be mindful not to mount the tape pieces wider than your slot in your mat board.

Framing Tutorial 21


Framing Tutorial 20


Framing Tutorial 22

Step 10:
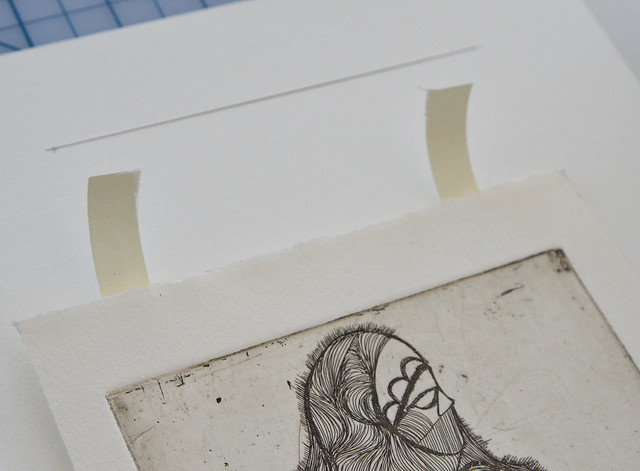
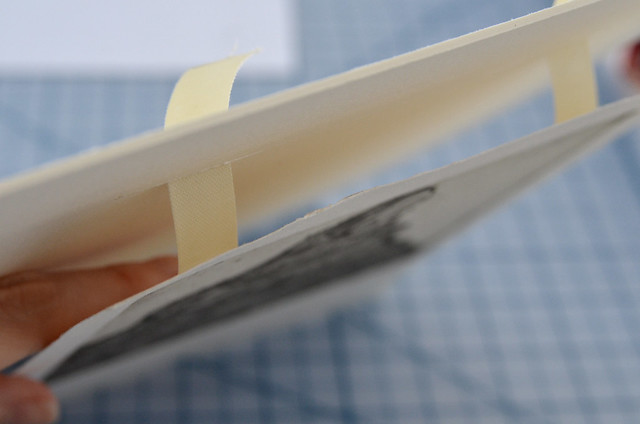
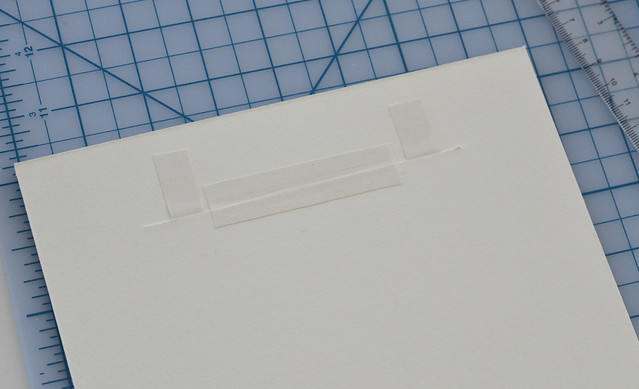
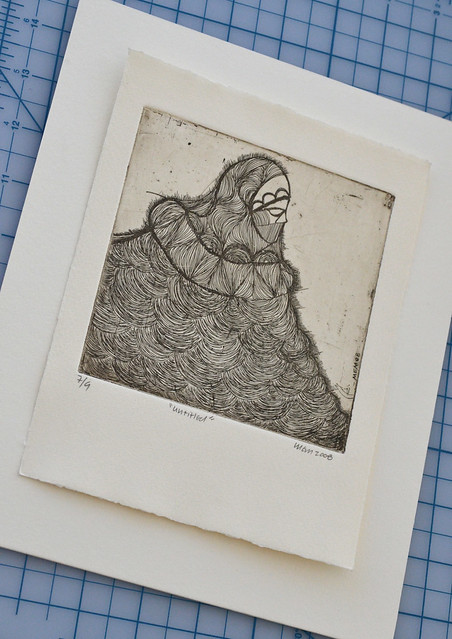
Slide the tape through the slit in the mat board and adjust it until your print sits exactly where you want it.  I like to use some drafting tape on the back once I get it situated before I adhere it to the back of the mat board to double check that the print sits just right before adhering the gummed linen tape to the mat. 


Framing Tutorial 23


Framing Tutorial 24


Framing Tutorial 25


Framing Tutorial 26


Step 11:
Once you’ve double-checked your placement, adhere the linen tape to the mat board and take an additional piece to place over your slot.  This will keep it from bowing out or warping over time. 


Framing Tutorial 27


Framing Tutorial 28


Framing Tutorial 29


Step 12:
Place your artwork in your frame and enjoy! 
Framing Tutorial 30


The wonderful piece in this tutorial is a print by Michael McGovern - a grad school friend, and wonderful printmaker based in Portland - click on his name to check out his website and other work!