First, I set up a still life and light it. This can take a while - even with a fairly simple backdrop. Finding the right colors and composition can be really difficult! After I set up and light my still life, I sketch out a few options for the composition. For this image I am using a 12x16" canvas so I made my drawing 4x5.3" (1/3 scale). I do this quick drawing to make sure the image is balanced, and then use it as a guide for my next step.

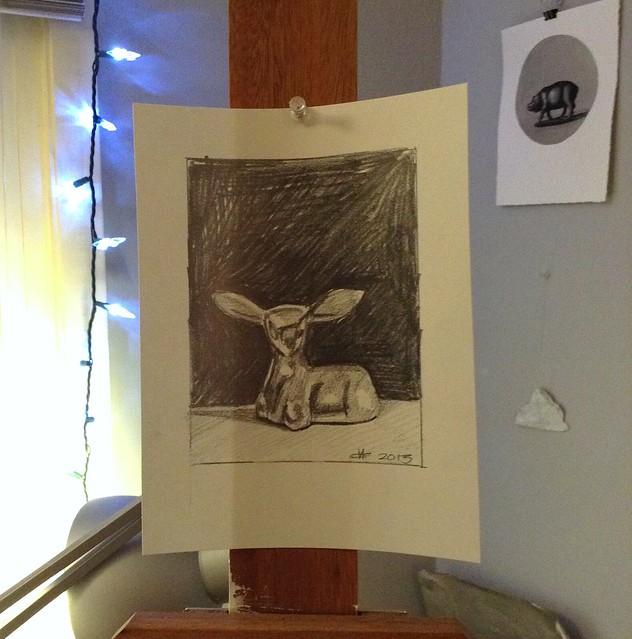
Next, I draw out the figurine from observation. This can also be a deceivingly time-consuming step! Most of the time it takes an hour or so to get things just right. I'll use visual observation, measuring, angling, and observing negative space to get the figurines sketched out properly. I use a hard-leaded pencil (3H or 4H) and erase more than I draw! In the end I look to have an outline of the main forms, and a light sketch of some of the details.
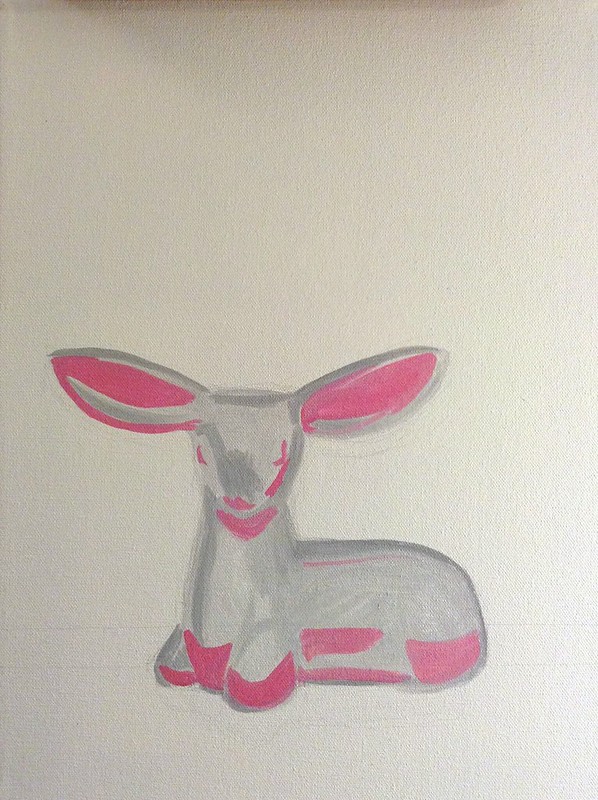
After the sketch is finished I start the under-painted layer. This layer is the foundation of the painting - an oil 'sketch' that starts to build the opacity of subsequent layers. For this layer I use oil paint thinned with low odor mineral spirits (with good ventilation of course!). This follows the #1 rule of oil painting - to paint 'fat over lean'. Lean paint is paint thinned with a thinner, and fat paint is paint in it's thick, straight from the tube consistency, or paint with added oil (such as linseed) for glazing or added work-ability. To start the figurine I painted a thinned layer of grey paint - this effectively 'wets' the area, making it easier to smoothly brush additional layers over the base color. This keeps the edges of brushstrokes nice and smooth.
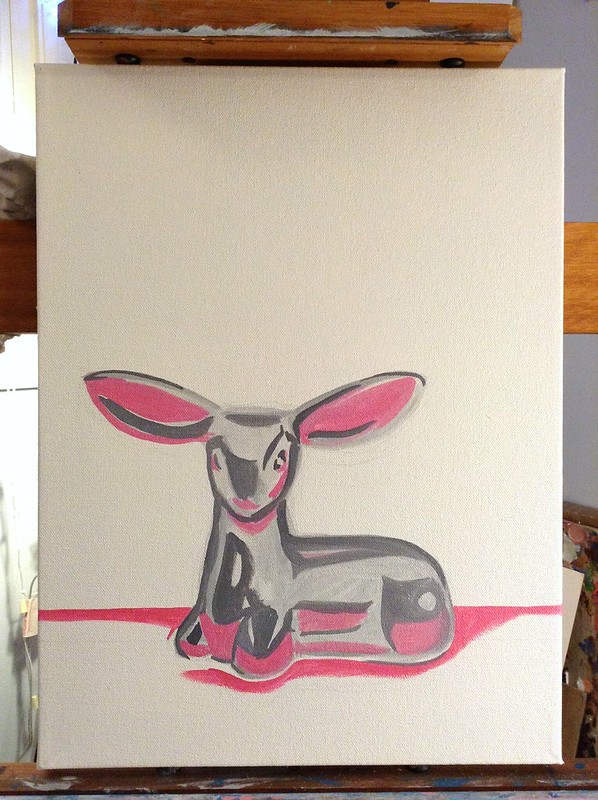
Next, I start blocking in the light and dark areas within the figurine, and adding some color as well. I work from simple to complex. I think a lot of painters get caught in the 'trap' of trying to make everything look perfect right away - or starting detailed painting in one small area only to figure out that their composition is no good by the time they are almost finished. Blocking things in can give you a great idea as to whether or not your painting stinks in a fairly quick time period. I've had quite a few paintings that have been 'wiped' at this point (wiping= taking mineral spirits and essentially erasing the entire thing off of the canvas and restarting
at square one!).
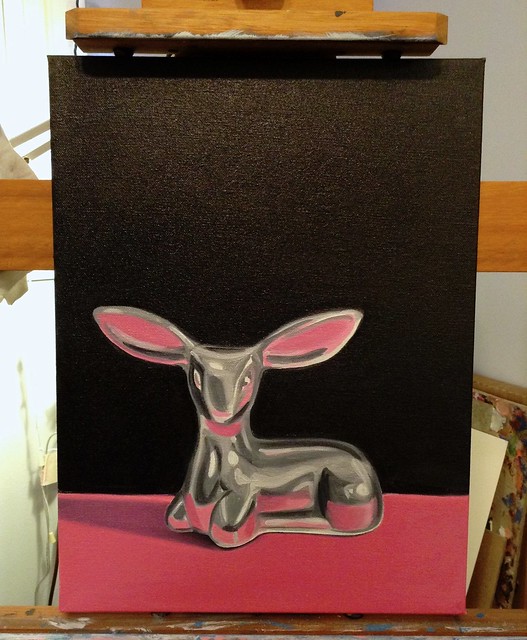
At this point, I start to get more in to the details - blending the transitions between light and dark, painting in some of the highlights and shadows in more contrast, and filling in the first layer of the background. Again, I keep these layers thin - using only paint and paint thinner. My goal with this series is to have a relatively flat finished surface, so my approach is to layer 2-3 layers of thinned paint over one-another to minimize the appearance of brush strokes on the canvas. This is my 'finished' under-painting. I'll let this guy dry for a week or so, and then get working on the next layer of the painting where I start to really refine the forms and make it 'shine'!
Lastly, I'm pretty sure the color scheme of this painting was unknowingly influenced by my sock choice that day.
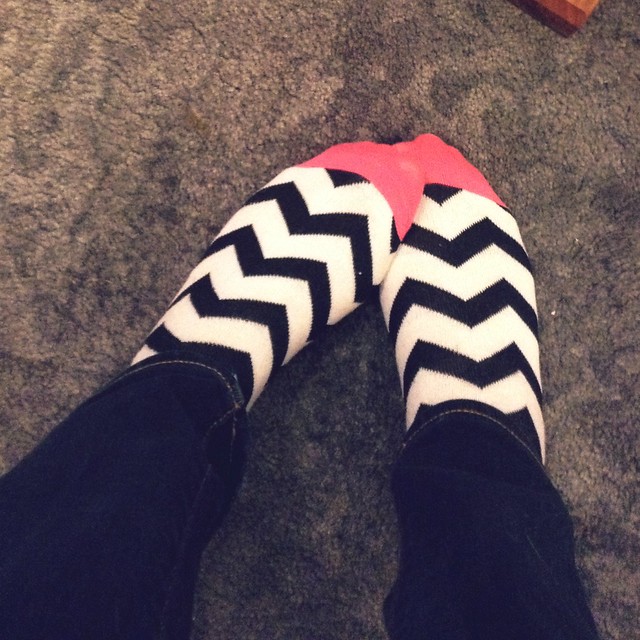
I guess that's a sign that I am easily influenced - hah! Thanks for reading!